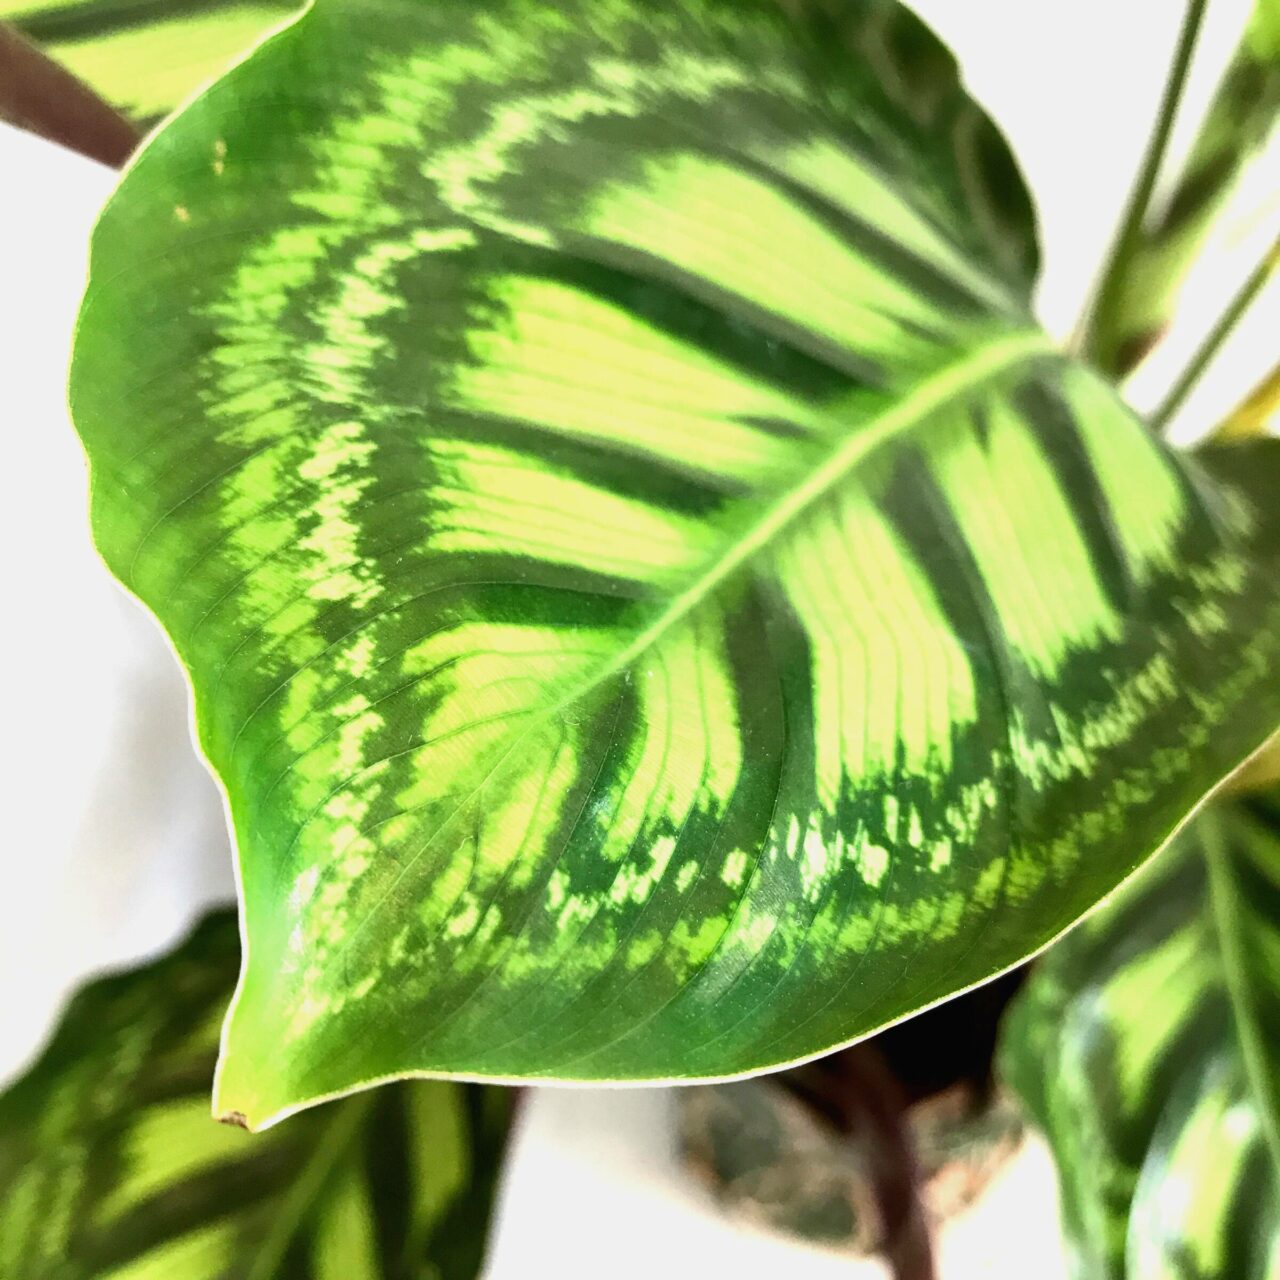
House Plant Survival Guide
The good news is that black thumbs don’t exist and this ultimate guide to keeping your house plants alive boils down the essentials into a fail-safe formula that will help you keep your house plants alive and thriving.
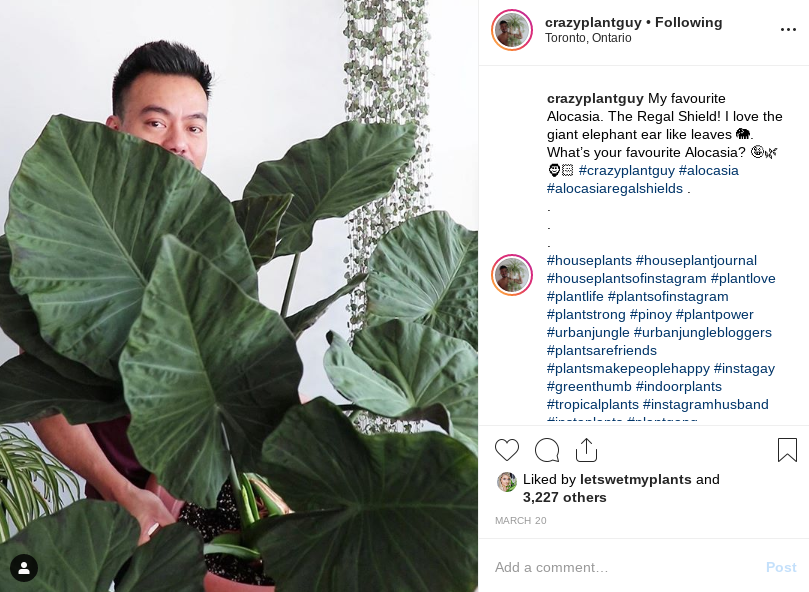
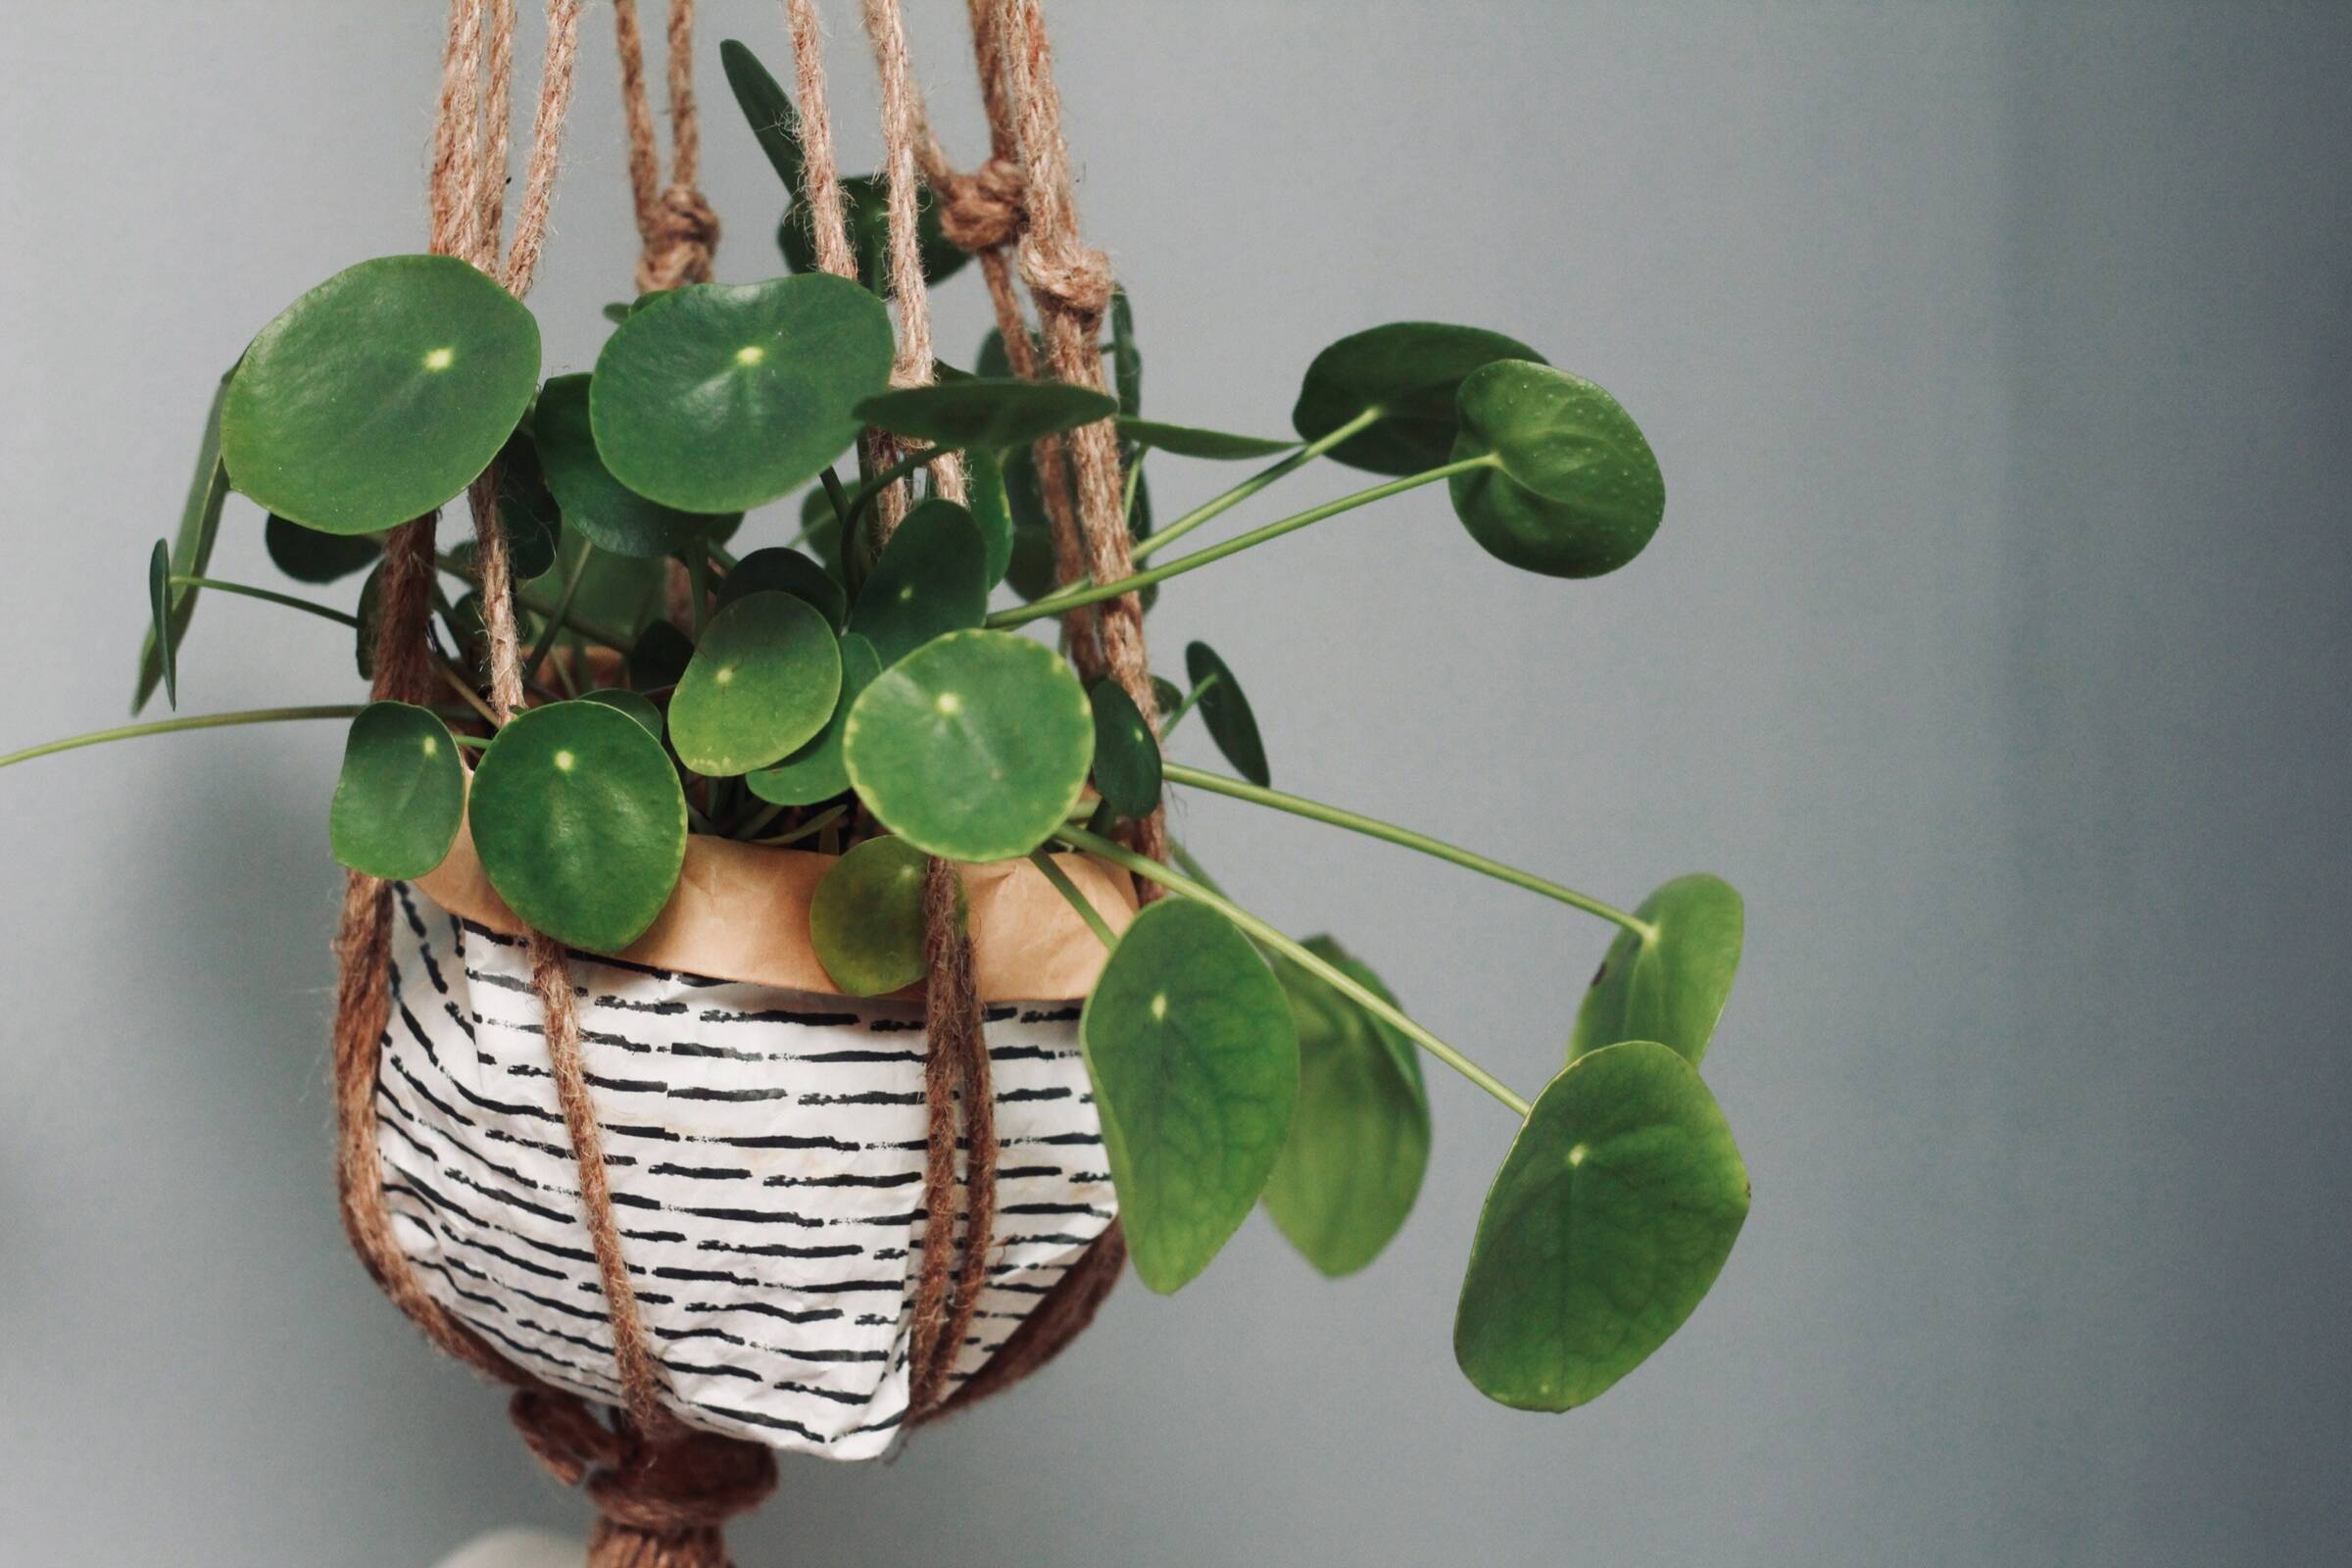
Houseplants are everywhere, they are definitely having a moment. Bringing plants into your home is good for you and to top it off they look amazing. A swift peruse on Instagram of @crazyplantguy, @jamies_jungle and @houspelantclub is enough to tempt me into buying half a plant shop!
If you have been swept up with enthusiasm and have just acquired a new plant baby you may be feeling the pressure to keep it alive and thriving.
You may also be remembering previous traumatic experiences that ended in the grisly death of the object of your affections….
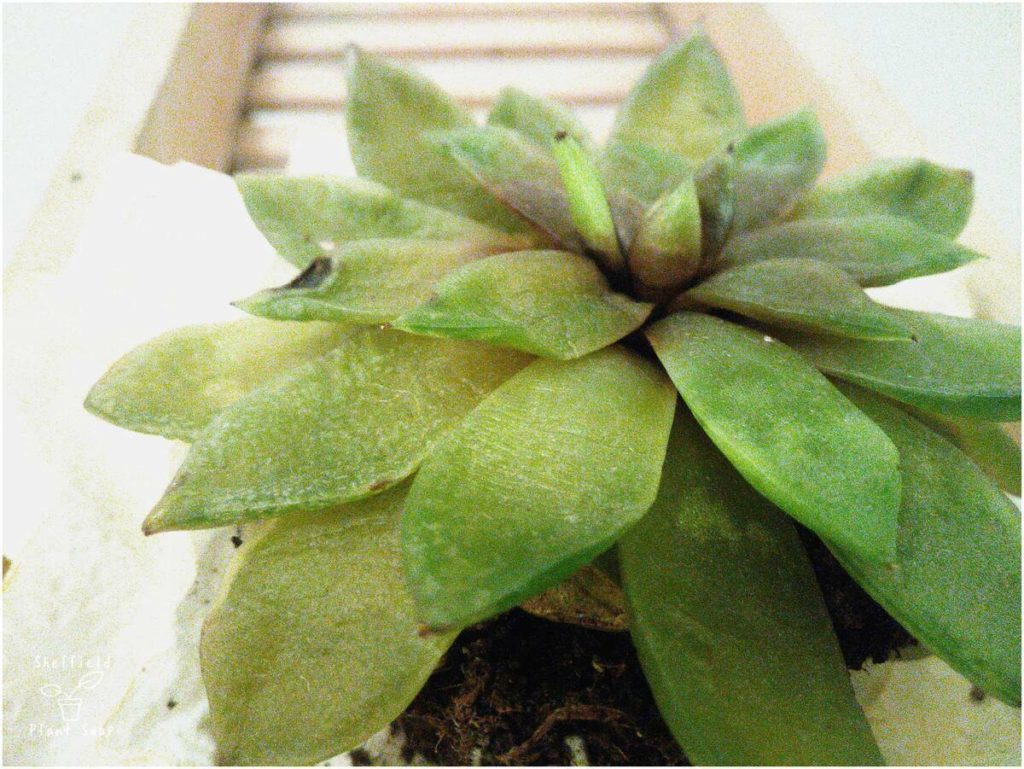
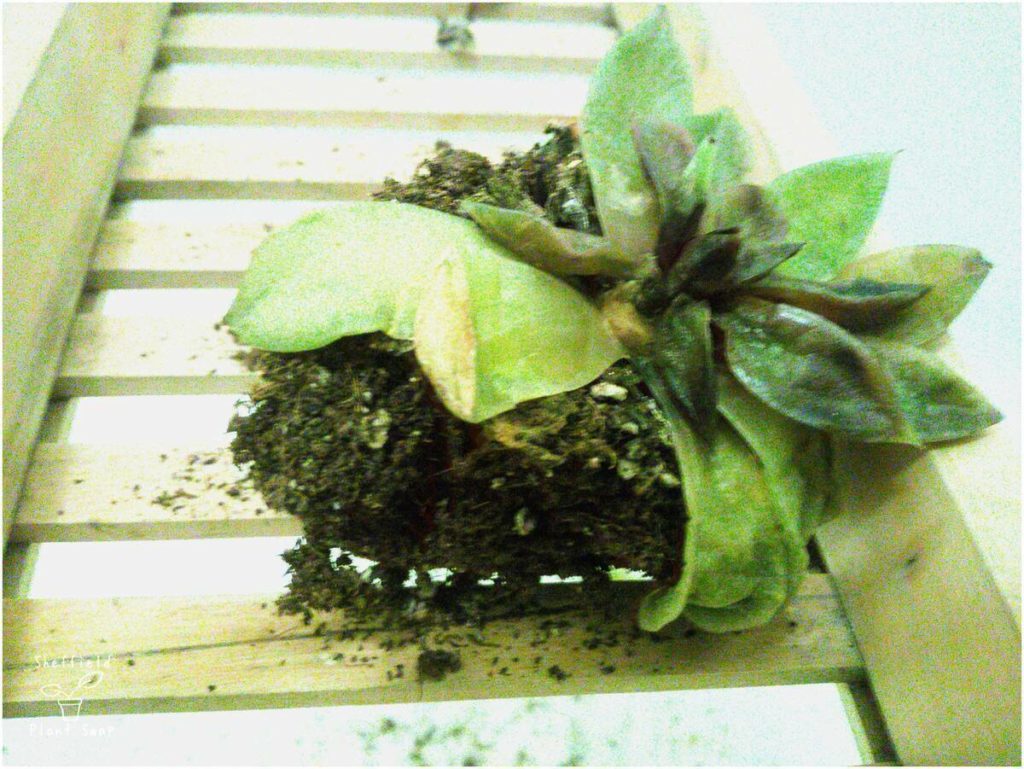
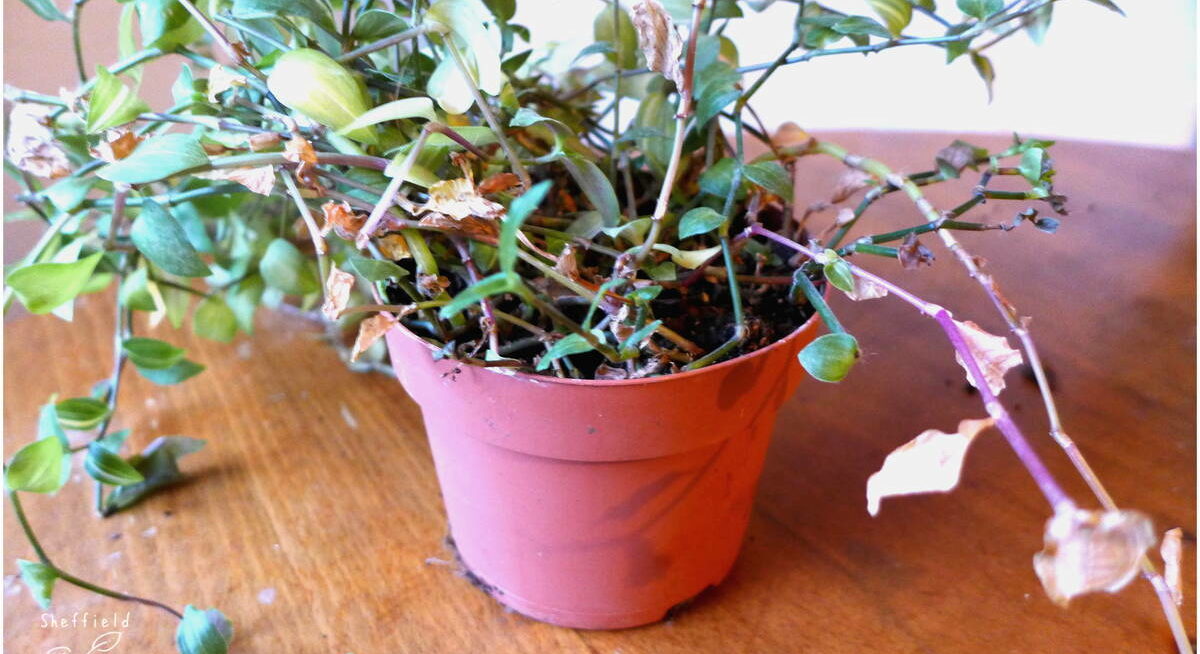
Lots of people may have stories like this one. I certainly have! The succulent pictured below is the sorry evidence of one of my mistakes. It was caused by over watering and the rot spread outwards from the stem.

When I still thought I could save my succulent… When it was clear it was doomed! The sad remains showing rot spread from the stem out.
I’m here to tell you not to worry. House plants can seem tricky but following some simple steps will help you keep any type of house plant alive.
I’ve written this guide thinking particularly about new plant parents but if you’ve been struggling to keep your house plants alive then this is for you too so just jump straight in and follow these steps.
How To Keep Your New House Plant Alive
Here is a summary on how to keep your new house plant alive
- Inspect your plant really closely
Get to know your plant, check if it is healthy, look out for bugs and make sure it is in a pot with drainage holes.
- Keep your new house plant apart and let it settle
Keep new plants in plant quarantine for two weeks and don’t worry if it shows signs of stress such as yellowing – it needs some time to acclimatise to your home.
- Identify your plant and find out what makes it happy
Find out what kind of plant it is and look up care instructions.
- Right plant, right place
Think about what light, humidity and temperature your indoor plant needs. Then where and how you can provide these in your house
- Get watering right
Water responsively when your plant needs it. Schedule plant checks so you are checking in on your plant regularly.
1. Inspect Your Plant Really Closely
Woohoo! You have a new plant. That’s great news.
Take a good look at your plant. Get to know how it looks. Is this plant healthy and happy? Does it have any pests hitching a ride? Are there any other nasty surprises?
Having a good old physical inspection of your new plant also lets you do a couple of things:
- It will help you identify what type of plant it is (more on this later…..)
- It lets you check its health and growth so you have a good baseline
- You can spot any pesky bugs and pests
- You can check it is in the right kind of pot.
Is your plant healthy?
If it looks a little sad, don’t give up yet but do give yourself a free pass on this one.
I love rescuing poorly plants and have undertaken many a plant rescue project. That said, it is undeniably harder to keep a poorly plant alive. So especially if you are a new plant parent give yourself a break and either start with a healthy plant or else give yourself permission to fail.
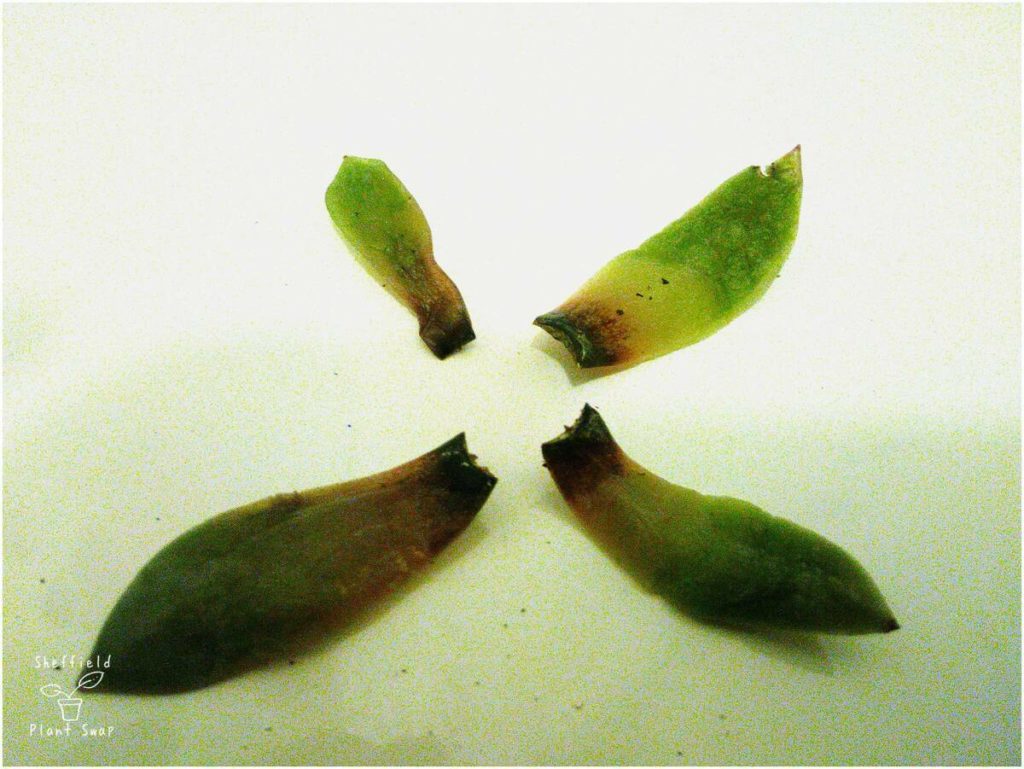
Bugs, pests and other nasties
Is your new addition harbouring any bugs, pests and other freeloaders hitching a ride? The last thing you want to do is infest your other plants and if this is your first plant you definitely don’t want to be battling an invasion of plant-munching bugs!
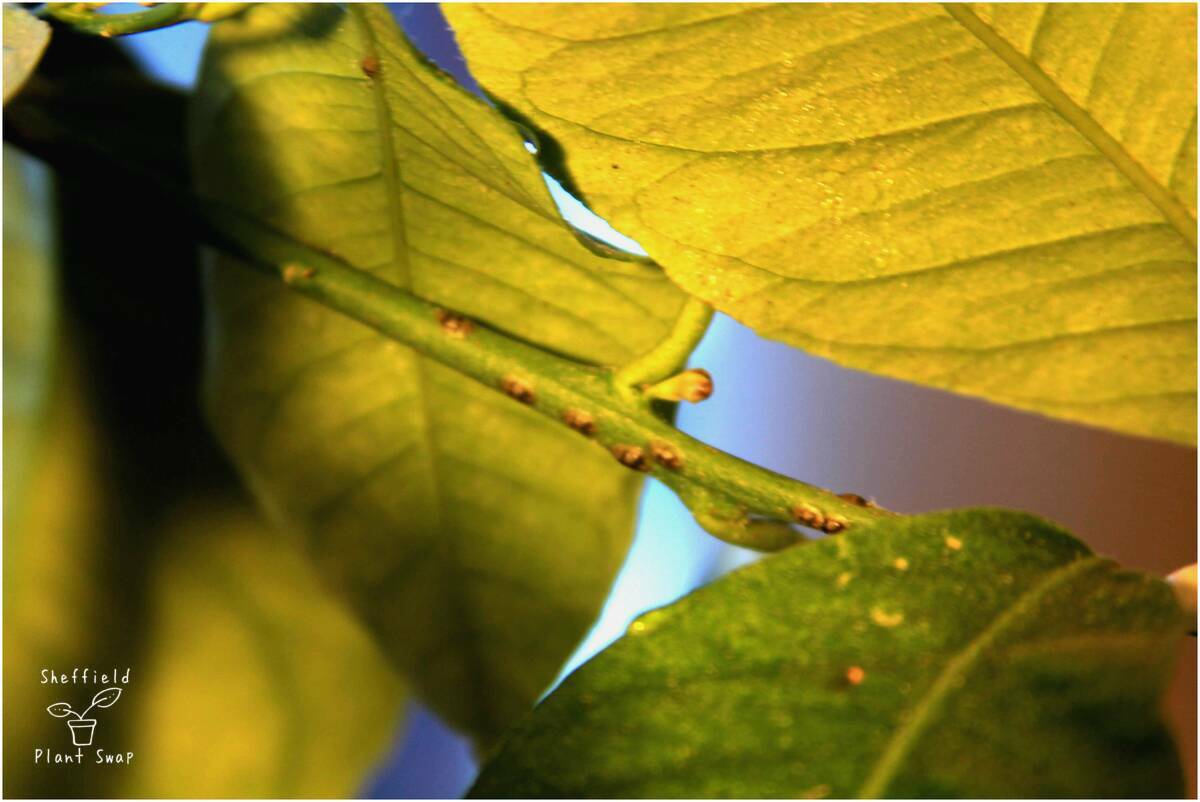
Common bugs romping through the nightmares of indoor gardeners are scale insects, spider mites and mealybugs. So if there are strange bugs, dust, fluff, marks or sticky patches on or under your plants leaves you need get rid of these first.
Amy Andrychowicz over at Get Busy Gardening has excellent organic pest-fighting advice.
And if you bought it from a shop take it straight back!
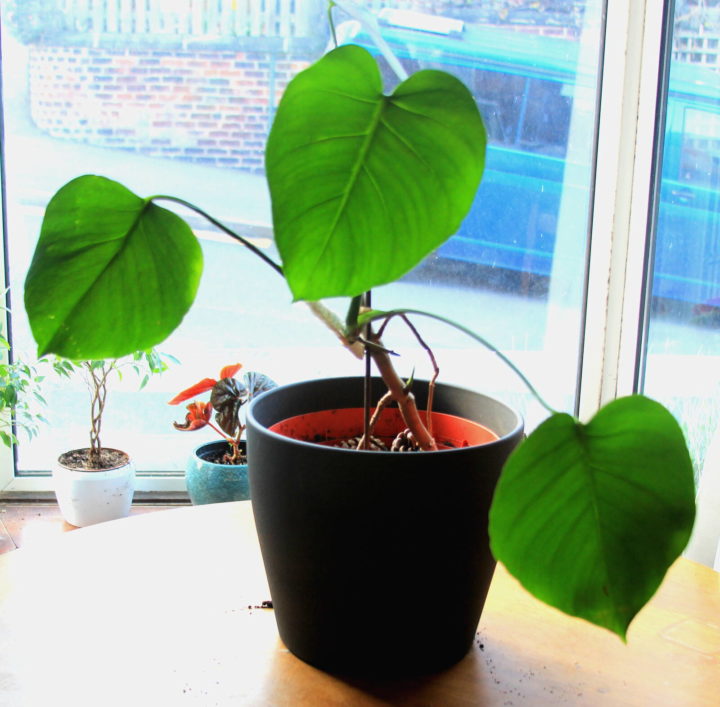
Not all plant pots are created equal
First things first. What pot is it in? Does the pot have drainage holes?
This is essential in the task of keeping your house plant alive.**
It takes caring for your plant from dicing with death every time you water to being a situation where you can learn what the right amount of water is over time.
If it doesn’t have drainage holes then you need to repot your plant into a pot with them. It sounds extreme so I’m #sorry, not sorry. You NEED to do this to give your plant the best chance.
The best way to do this is to put your plant in a plastic pot with drainage holes and then sit it inside an attractive outer cache pot without holes.
As a handy extra benefit, repotting will also let you get a really good look at the root system and you can make sure that it is in the right growing medium.
**Honorable exceptions to the drainage holes rule go to bottle gardens and genuine terrariums filled with moisture loving plants. However a terrarium filled with succulents can only be described as the devils work and should be first in the queue to be repotted.

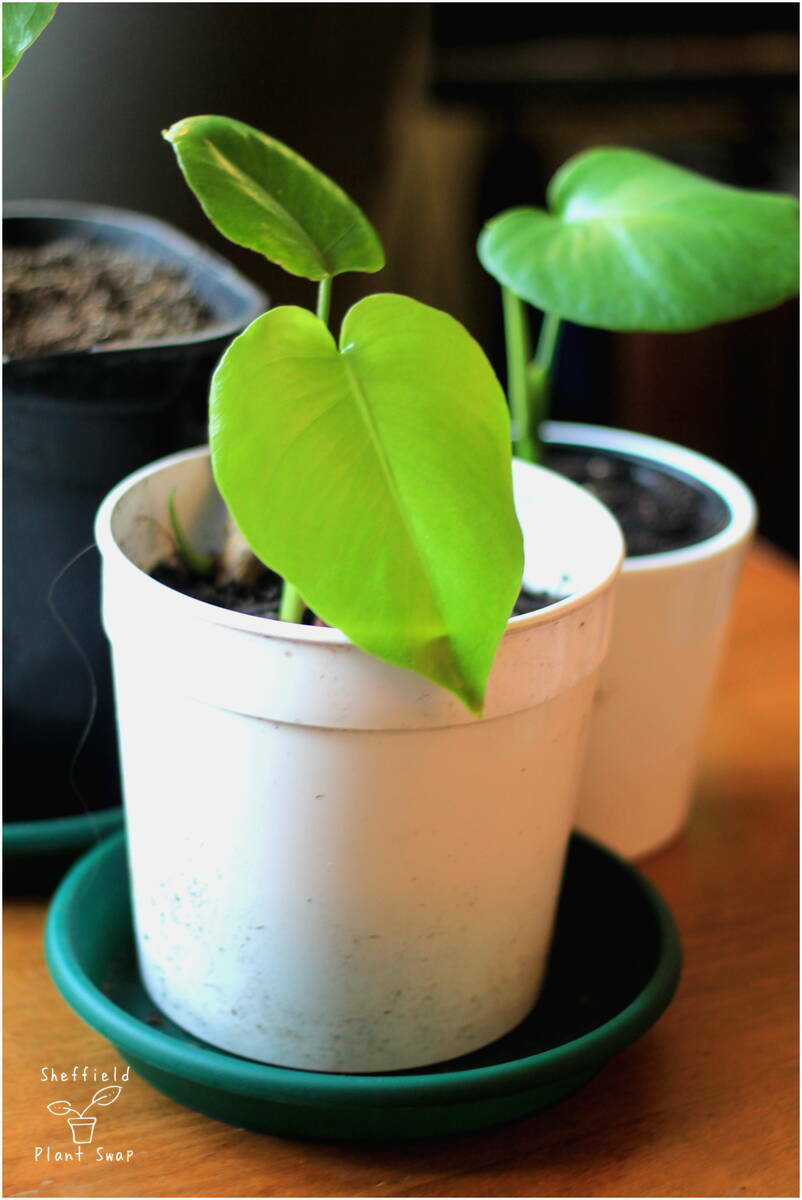
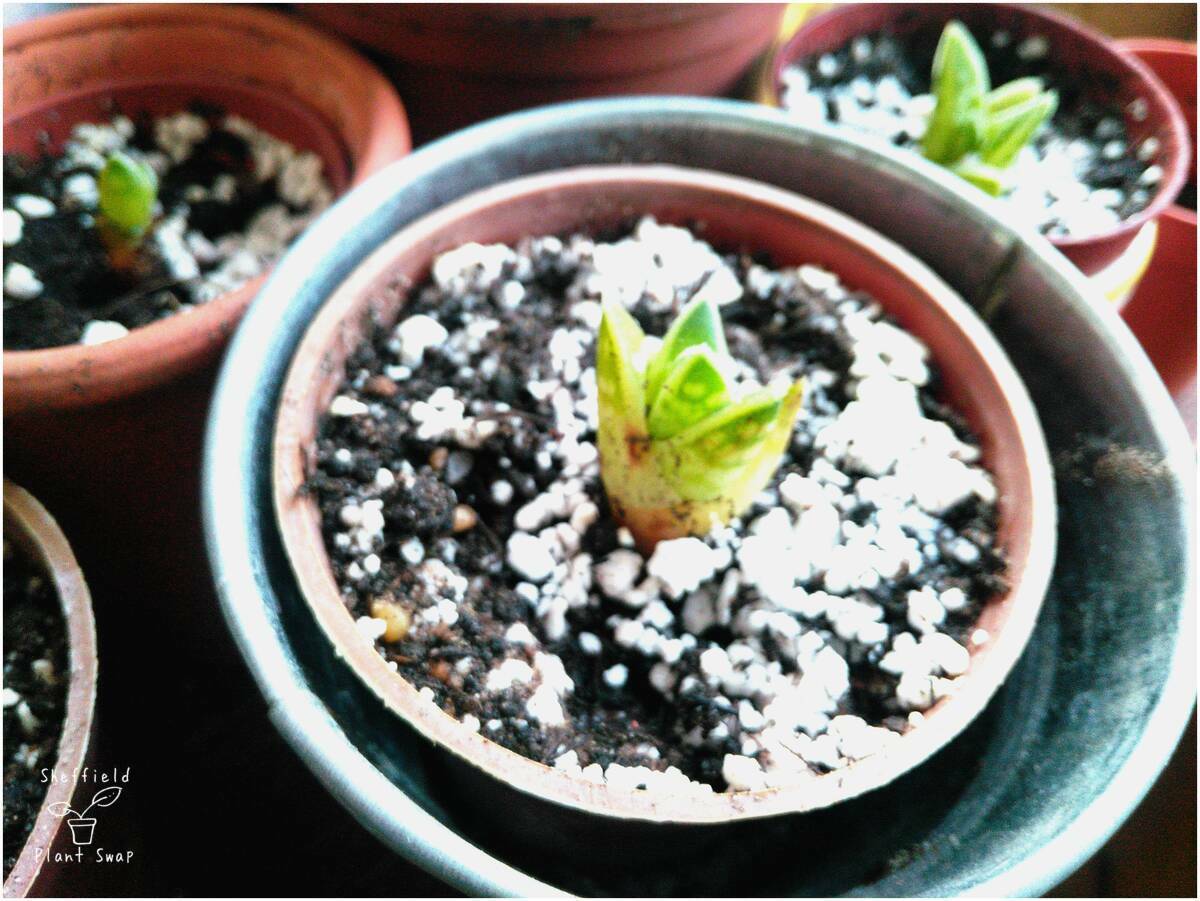
2. Keep Your New Plant Apart and Let It Settle
Keep it apart
Even if everything appears to be great with your plant, nasty little eggs too small for you to see could still be hiding out so it is safer to put your plant into plant quarantine! E.g. keep it apart from others – put it in another room or on a separate window sill for at least 2 weeks.
Let it acclimatise
A new house plant from a garden centre or shop has been living in an optimised greenhouse environment where everything is ‘just right’ from light in all directions, humidity and temperature adjusted just for plants and an optimised watering schedule.
It is very normal for it show some signs of stress such as a few leaves yellowing or dropping as it acclimatises to its new conditions.
Your plant needs time to adjust and if you can provide a period of adjustment with close to ideal conditions then that will reduce plant stress. The biggest critical factor here is usually the amount of light so make sure it has the right light in the right amount whilst you have it quarantined or it will become especially unhappy.
At the end of two weeks, assuming no nasty bugs have appeared and it is not on death’s door you can move it to its intended home
3. Identify Your Plant and Know What Makes It Happy
How does identifying your house plant help keep it alive?
You need to know what kind of plant your new house plant is so you can find out how to take care of it. Much like pets there is not a one size fits all approach, feed your dog rabbit food and he’ll soon keel over and vice versa!
Plants have very specific needs and niches. These are not usually hard to meet but if you don’t what they are then it is unlikely that you will provide them correctly.
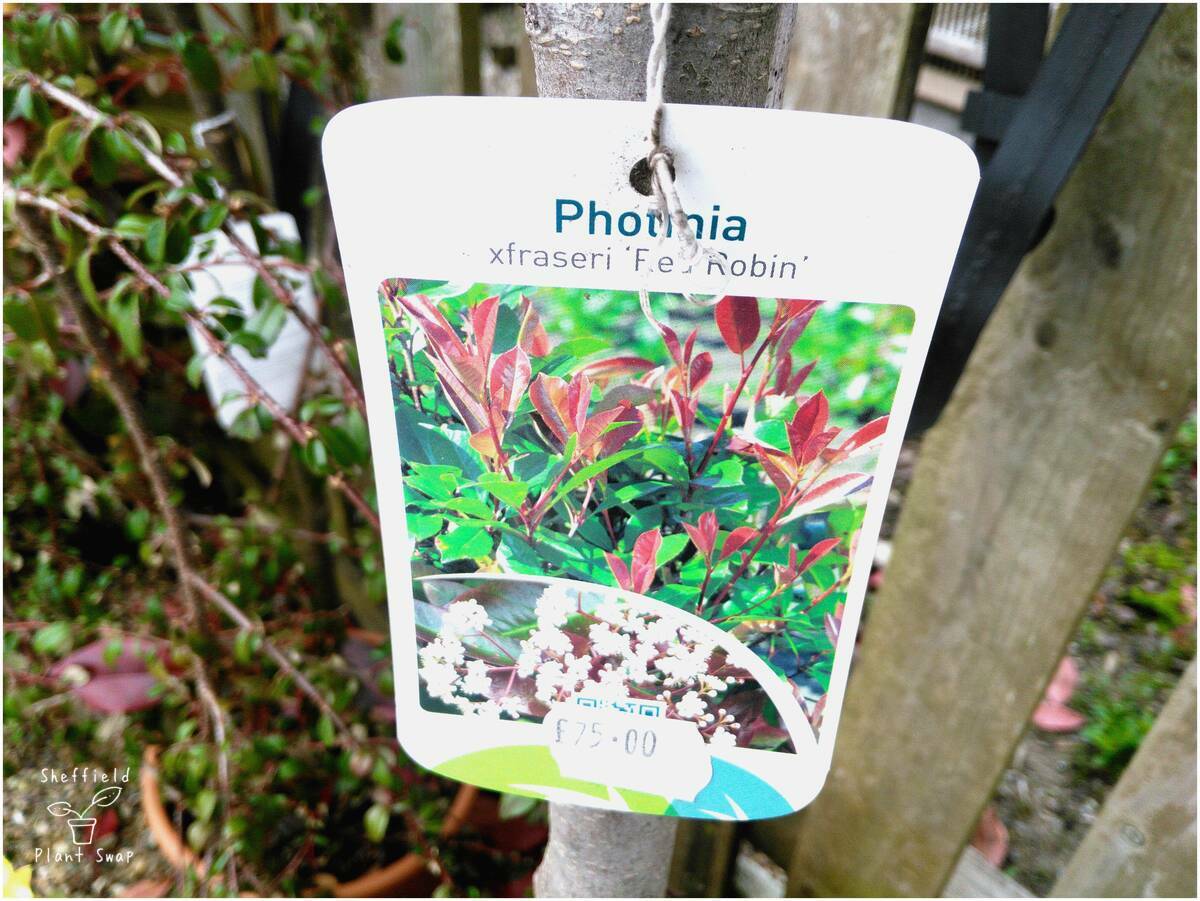
If you bought your plant from a knowledgeable seller then it should come with a name tag and care instructions….although beware not all plant tags actually tell you the plant name!
If your new plant was a plant swap mystery plant, a gift or a hand-me-on and you don’t know what it is then your very first step should be simply identifying it.
However if you don’t know your cacti from your monstera then this can be far from simple. Fortunately there is a wealth of information out there to help you identify unknown plants. Following the breadcrumb trail to identify a plant yourself can be very satisfying and teach you a lot about plants.
I’ve written a whole post on how to identify your mystery plant as well as listing some useful online resources here.
Scientific plant names
It is worth saying that using the plant’s scientific name whilst researching care instructions means that you can make doubly sure that you are getting the right instructions for your plant.
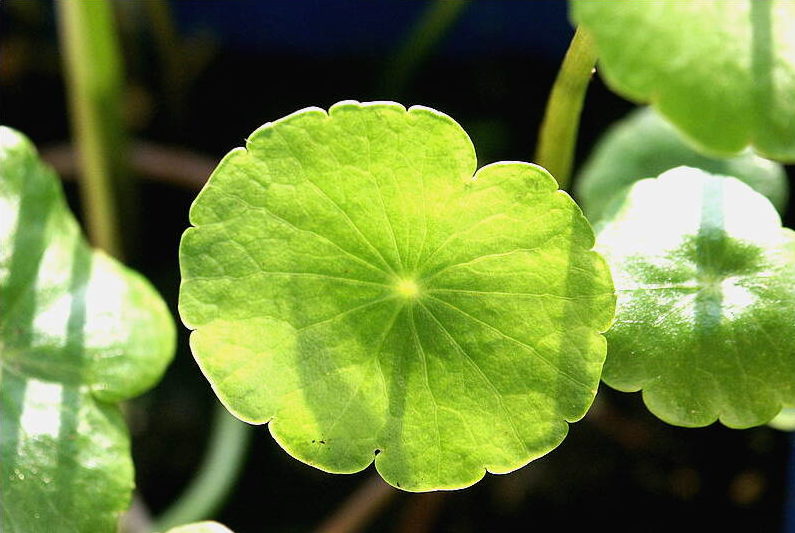
Hello money plants!
The plants below are all known colloquially as money plants or money trees so you can see why using plants scientific names can help keep track of what plant you are referring to.
Hydrocotyle vulgaris (Money Plant, Copper Coin Plant) Pilea peperomioides (Chinese Money Plant) Lunnaria annua (Money Plant, Honesty, Moon Plant) Epipremnum aureum (Money Plant, Pothos, Devils Ivy) Crassula Ovata (Money Plant, Jade Tree) Pachira aquatica (Money Tree, Guinea Chestnut)

Know how to make your house plant happy
Now that you know what your plant is, you can find about how to make it happy and what conditions it needs.
There are loads of experts online who have great advice. Here are some general sites with good plant care advice about a range of houseplants:
- Guide to Houseplants – I like that plants are listed by common and scientific name.
- Our HousePlants – The thumbnails pictures of plants on one page make a handy visual dictionary of plants.
- Houseplant411– For the sheer quantity of information – there is information on over 135 plants!
- Succulents and Sunshine for, you’ve guessed it, succulents! Cassidy Tuttle is the succulent lady and as well as telling you how to keep them alive makes them look good enough to eat in her photos.
Don’t worry if some of the advice is contradictory, I’m afraid that there is a lot of misleading advice out there – including on plant labels!
Usually you can start getting a good sense of what the plant likes by reading a couple of profiles and articles and developing a sense of which are authoritative and knowledgeable sources. Additionally, remember plants are living beings who can vary as much as humans so sometimes only trial and error will tell you what is right for your plant.
What do you need to know?
If you are suffering from information overload just remember that the only the bits you are interested in, are how to keep your plant alive which are:
- What kind of light and how much?
- Watering and humidity
- You can ignore anything about soil, fertilisation, propagation or repotting (for now anyway!).
Just remember though, all of these are just guides, plants are living beings so to be successful you need to learn to be responsive to your plant.
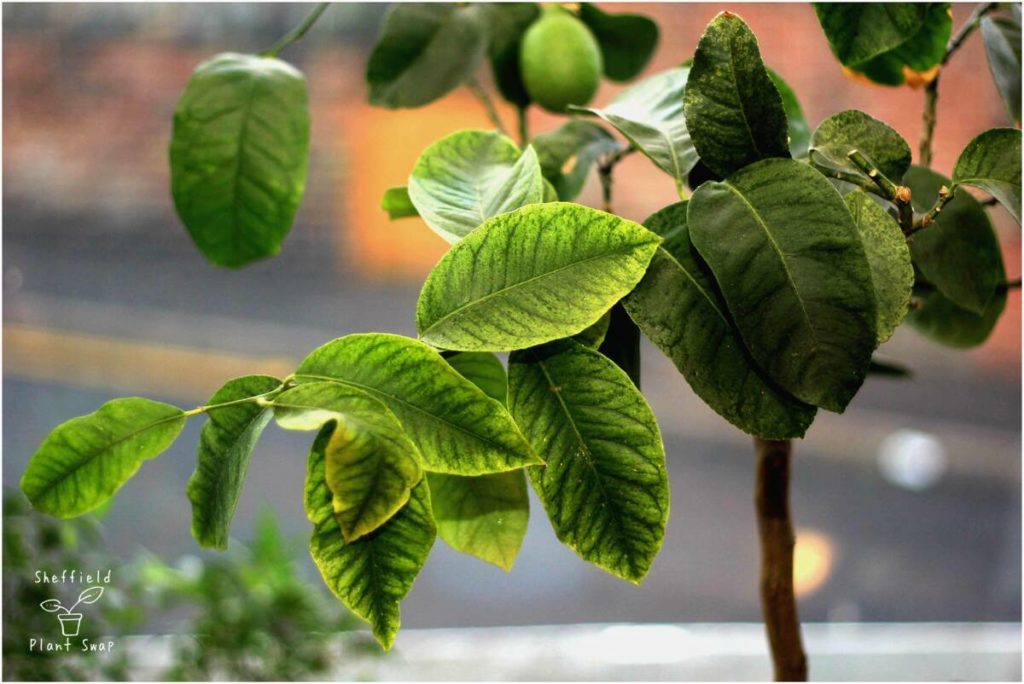
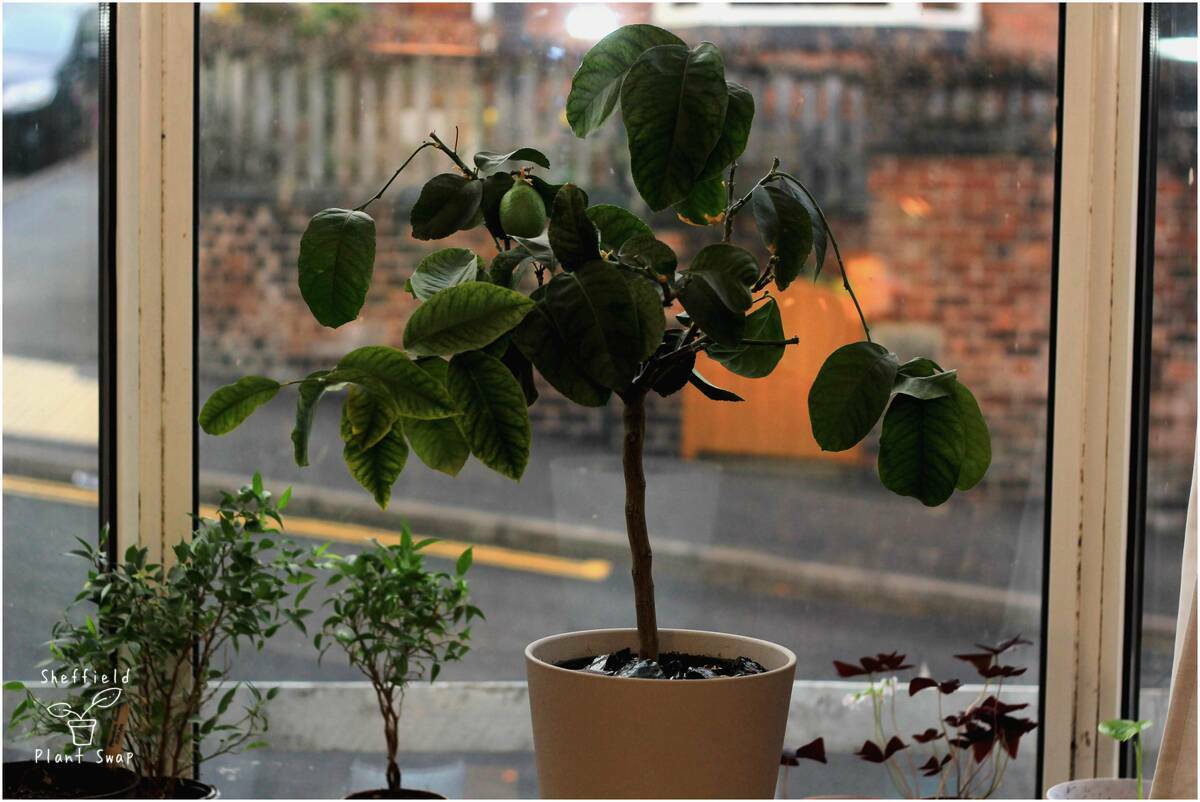
My partridge breast aloe (Aloe variegata) is incredibly tolerant to being moved My lemon tree (Citrus × limon) however sheds leaves any time I try to move it to a new spot.

4. Right Plant, Right Place
Now you know what your plant is, you need to decide where it should live.
My biggest advice to any new plant parent is to remember that if you want to grow lush, gorgeous plants that beautify and contribute to your home then you need to follow your plant’s lead and put it where it gets the right conditions.
The question can be broken down into three parts.
- What conditions does your houseplant need?
- What conditions do you have in your home?
- Where do these needs and conditions best overlap?
Part 1: What conditions does your house plant need?
Light, light and light!
People get energy from food. Plants get energy from light through a process called photosynthesis. The strength or intensity of the light they require and the amount of light they need changes from plant to plant.

Humidity
Humidity refers to how damp the air around the plant is. Lots of plants absorb moisture through their leaves. As a rule of thumb and predictably enough if you think about it, rainforest plants tend to like humidity and desert plants don’t!
Temperature
Houseplants can be sensitive to extreme temperature changes as well as to hot and cold draughts.
Natural habitat
A fundamental question to ask is what is your plant’s natural habitat. Is it naturally a desert, rain forest or tropical dwelling plant? This can help you gain a deeper understanding of these requirements.
Part 2: What conditions do you have in your home?
There are many different variables that can affect these so this is whistle-stop tour through the most common factors affecting where to place your plant.
Light
- South facing windows facing are the sunniest spots. In plant label speak this is direct sunlight.
- East and West facing windows get morning and evening sun whilst missing the intensity of the midday sun. This includes some sunlight as well as bright, indirect light.
- North facing windows or windows that are blocked by trees or buildings get the lowest levels of light and no direct sunlight. This is indirect light.
- The plant’s position relative to the window also changes the amount of light it receives:
- Moving a plant a few feet away from the window can reduce light intensity by more than 50%.
- Plants on a sunny windowsill can get sun burnt leaves.
Humidity
- Bathrooms and kitchens are typically more humid than other rooms.
- Air conditioning, central heating and dehumidifiers all reduce humidity.
- There are also several options to artificially raise humidity. Or to provide artificial light in dark spots with the right humidity such as this sweet fern in the shower set up by Darryl Chen of the Houseplant Journal shows.
Temperature
- There is both the average temperature of the room to consider as well as the range of temperatures if this drops frequently (for example in conservatories or porches overnight).
- You should also avoid excessively hot or cold spots such as over radiators or next to air conditioning vents.
Part 3: Where plant needs and house conditions meet
So armed with the knowledge of what your plant requires and with a greater understanding of the conditions in your house you can now find your plant its new home.
Listen to your plant
Firstly, don’t expect this to be the end of the process. Stay alert to changes in your house plant, your plant will tell you if you have found the right place for the right plant. If it is looking sad think about moving it and consider whether it is getting enough of the right kind of light.
As you become more experienced you will get better at matching the right plant to the right place. You will also get better at understanding what your plant is trying to tell you.
Secondly, the conditions in your home will change throughout the seasons so the right windowsill in winter may become a sun trap in summer and your plant will get sunburnt unless you either introduce a screen or move the plant a few feet back from the window.
5. Get Watering Right
We’re on the home stretch now!
Your house plant is pest free, it has acclimated to its new surroundings and is in a pot with good drainage. You have found the right right place for the right plant and it is happy there.
The last thing to ensure to make sure that you succeed at keeping your house plant alive is make sure watering is going well.
Watering
Over watering your plant is one of the more traditional ways to kill it but it would be very sad if we got this far only to fall at this hurdle.
There are several different ways to water and the reason I told you to get a pot with drainage holes is so you can work out what works for you whilst not killing your plant.
What follows here is a summary of what works for most people and most plants but by no means a comprehensive exploration of all your choices!
Responsive watering
Plants are like babies they don’t work well with rigid structures so a fixed watering schedule does not work and usually ends in your plant dying either slowly from under watering or rapidly from over watering.
Instead you should aim for responsive watering.

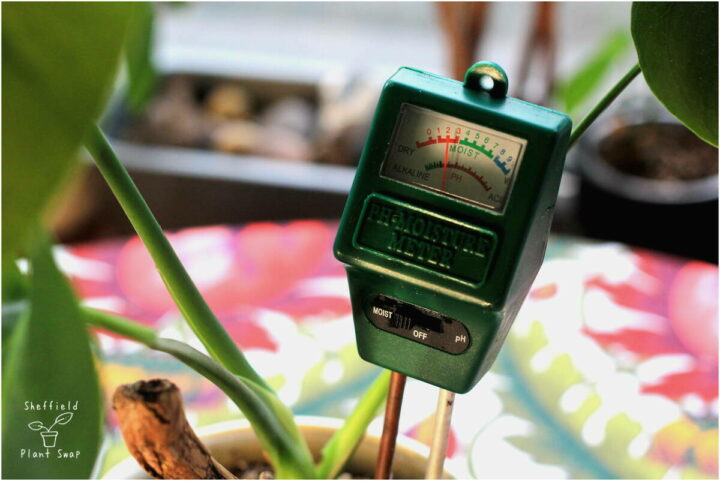
Stick your finger in and if it is dry (and I mean actually dry) then it is time to water again. If it feels slightly chilly or dank then the soil still has moisture in and you should wait a while longer to water.
Most plants like to be allowed to dry out completely and then to be deeply watered. As always there are exceptions to this rule but your plant research will have told you if this is the case for your plant.
Deep watering encourages your plant to develop a good network of roots because as the plant dries out the roots continue to push deeper looking water. Repeated superficial watering interrupts this process and leads to shallow, under-developed root systems.
Schedules
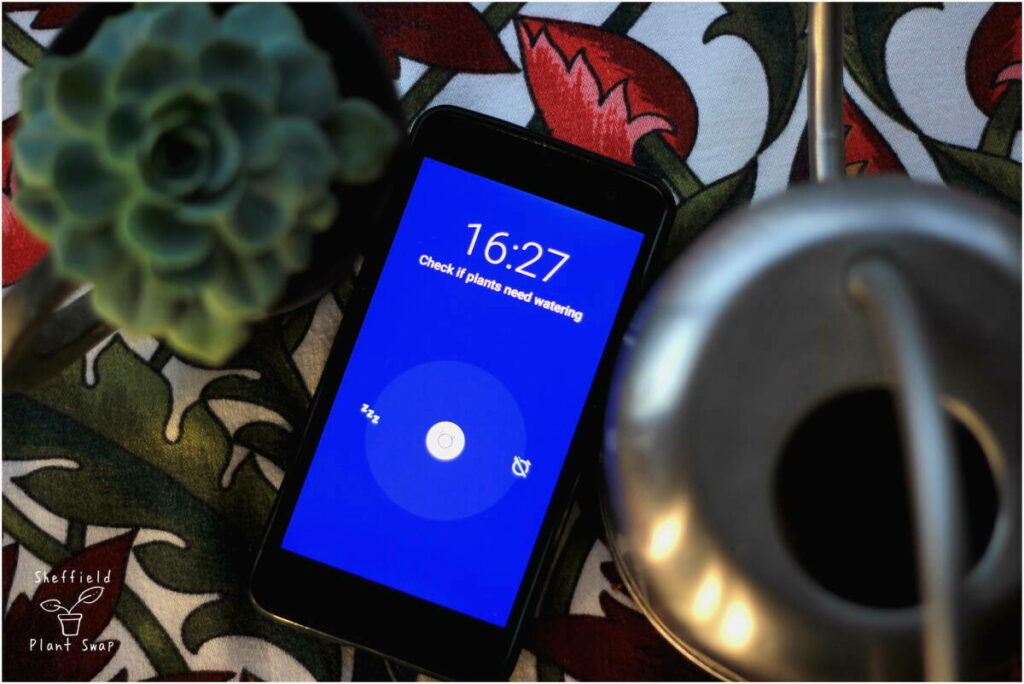
What does work brilliantly well to keep watering going well is checking you plants on a schedule and then watering them if they need it.
Schedules are great because they can become a habit which reduces the risk of completely forgetting to water. And before it becomes a habit, set an alarm on your phone to remind you!
Scheduling does not stop your from checking in on plants and watering on an ad hoc basis but it fixes regular ‘plant check’ times in your weekly diary.
Watering frequency
No two plants will behave quite the same and their water needs will go up and down throughout the year and some plants are just downright thirsty! Some useful rules of thumb include…
- Small pots dry out faster than big pots.
- Terracotta pots dry out faster than plastic pots.
- Plants in bright light use water more quickly and dry out faster than plants in low light.
- Soil with more organic content holds water and stays moist for longer.
- Humid air keeps soil moist for longer
- During winter plants grow less so need watering less frequently.
How to water
If your plant is in a pot with drainage holes then the simplest way to water is to water from above using a watering can with a long thin spout that lets you accurately direct water to the soil.
Try to avoid wetting the foliage, especially on plants such as african violets (Streptocarpus) or succulents and cacti.
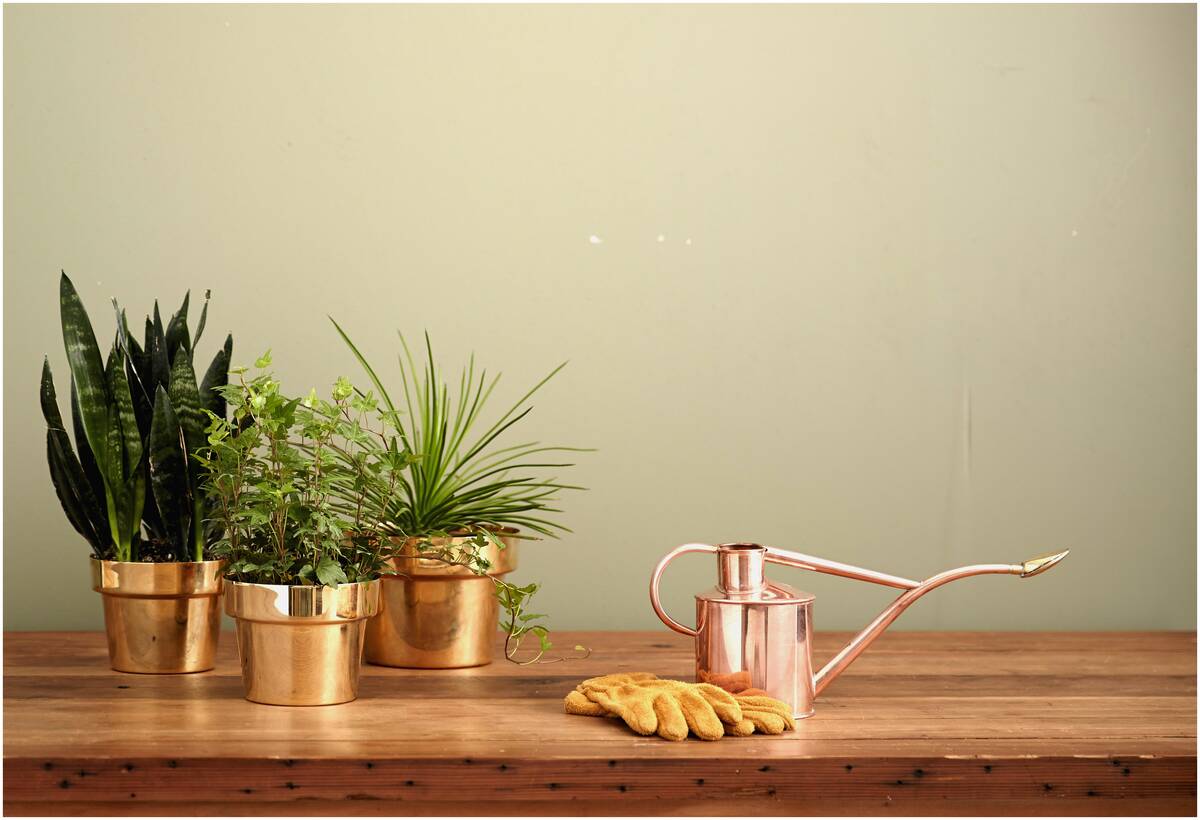
Pro-tip: Make sure that the pot is already sitting in a saucer or secondary pot without holes or in about 30 seconds you’ll regret it!
Some people swear by distilled or rain water but unless your plant is particularly fussy or your water particularly chemically treated then room temperature tap water is usually fine.
Give your plant a good deep water until water is coming out of the bottom of the pot. Once water has come out of the bottom, leave it for around half an hour to soak up more water and then empty out excess water.
Anything I missed?
So there you have it, a step by step guide to keeping your new house plant alive. Did you learn anything new? How is your plant getting on?
Were there any problems or questions that you came up against that I haven’t answered? Let me know below and I will pitch in.
Maybe you have your own ‘new plant routines’? Just comment below and let me know what you do when you get a new plant.
Image Acknowledgements
_4.jpg)
1 comment on “The Ultimate Guide To Keeping Your New House Plant Alive”
Comments are closed.