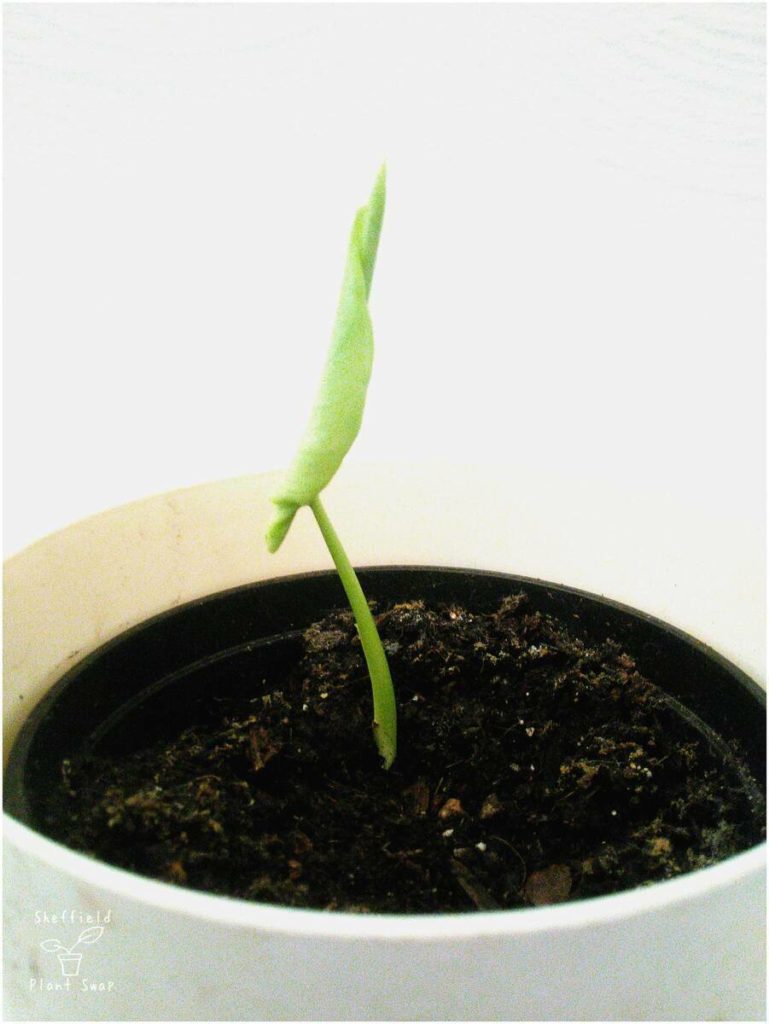
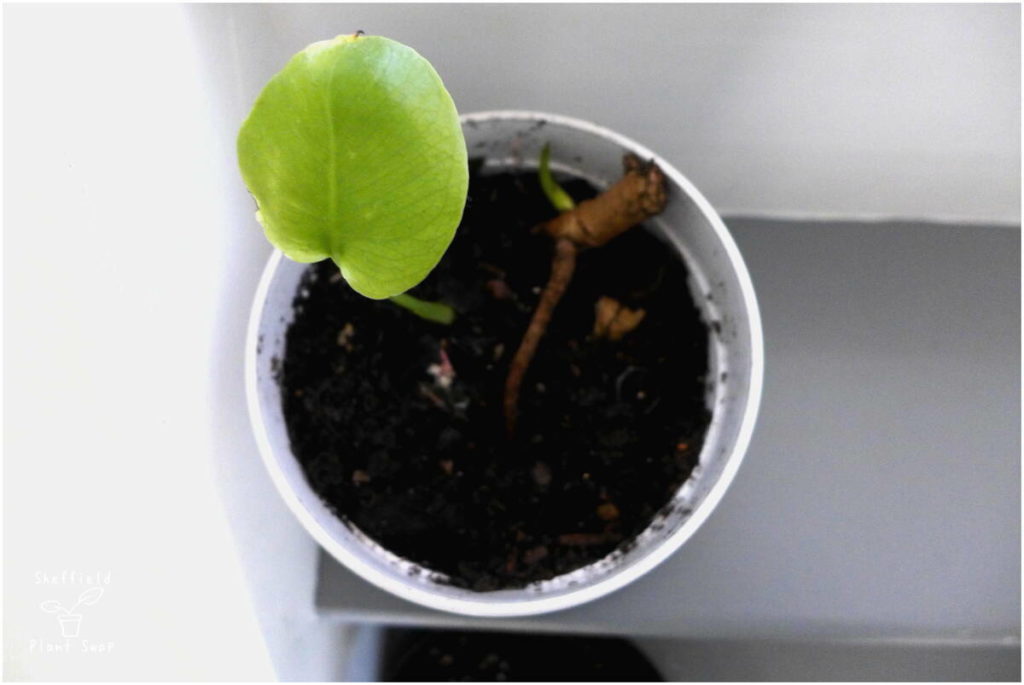
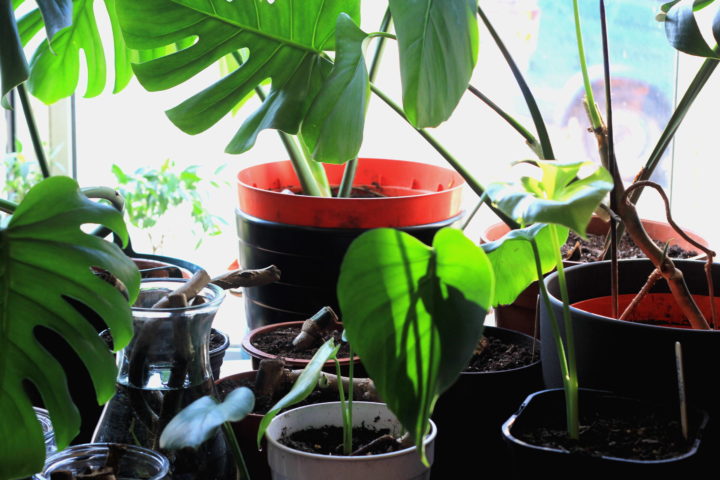
Making more Monstera plants….
Ever wondered if you can propagate Monstera deliciosa (swiss cheese plant) and make a cheeky new plant?
Well, you can and it is surprisingly easy. In fact if you have an existing Monstera getting a bit monster-ish it is the perfect opportunity to give it a prune and grow more Monstera from the cuttings.
And who doesn’t want more plants if they can get them for free!
My propagating experience…
This post distils what I learnt from that experience and focuses on how to propagate Monstera from stem cuttings.
When I pruned my Monstera plant I took around twenty cuttings:
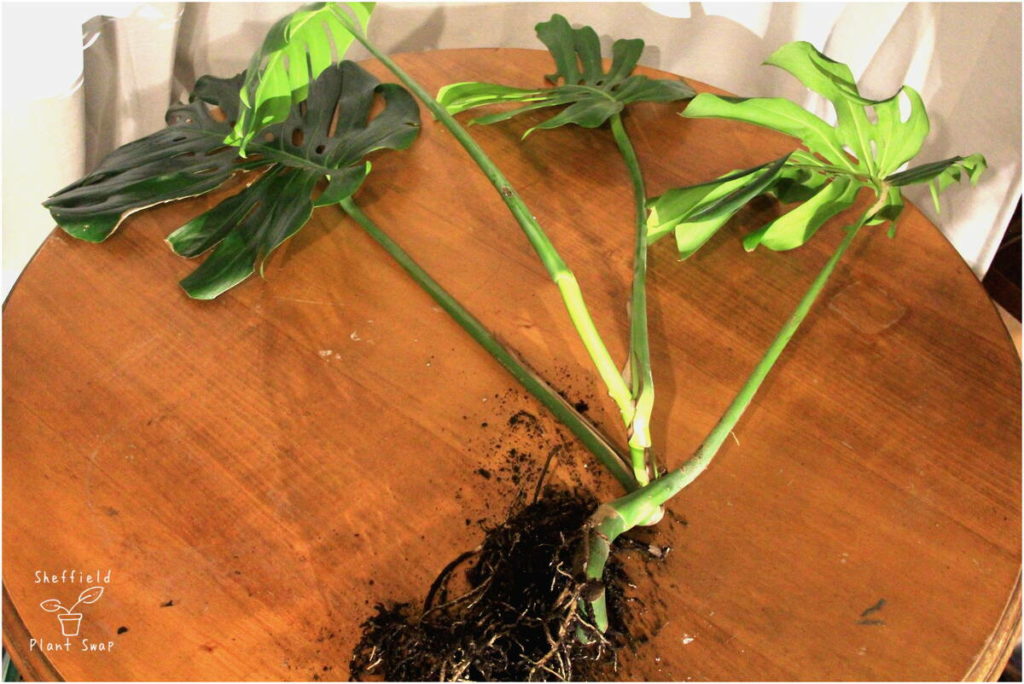
- Some of these I thought of as ‘junior’ plants and included the growing tip of the vine, some stem, several mature leaves and aerial roots.
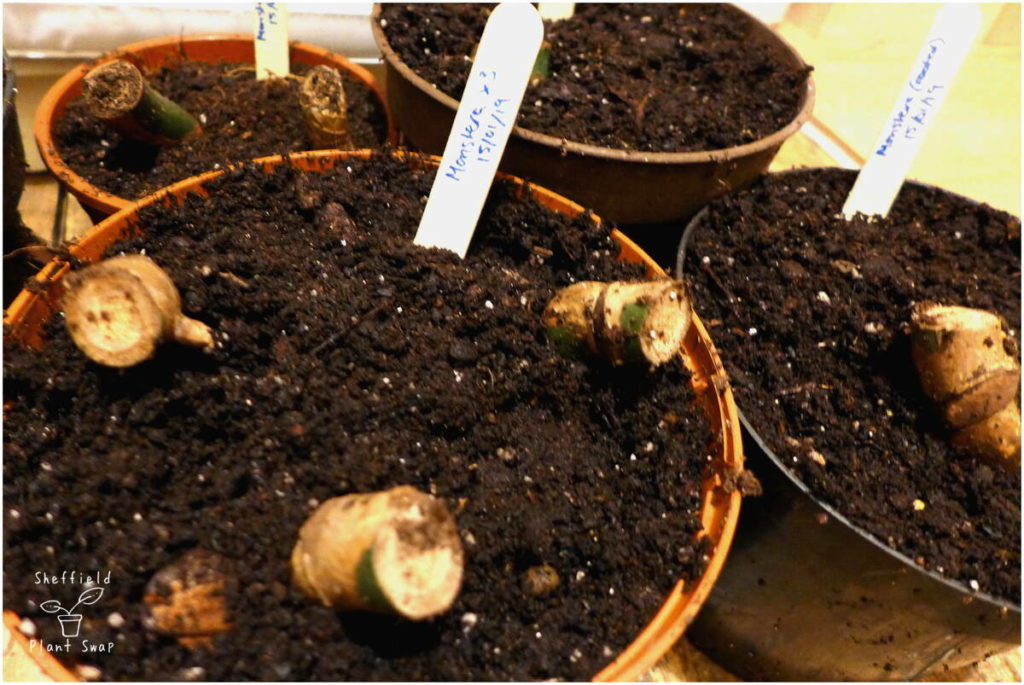
- Others were very minimal and simply were short section of stem with no leaves or aerial roots.
The propagation process for both was the same the only difference being that the ‘junior’ plants definitely established themselves more quickly. I was very surprised at how effective the basic stem cuttings were. I had an almost 100% success rate.
There is another propagation technique called air layering where you can propagate Monstera in situ using sphagnum moss wrapped in a plastic bag. GardenHat has a good explanation of this technique.
The 2-minute low down on how to propagate Monstera
How to propogate Monstera deliciosa.
What you need: a Monstera deliciosa plant, sharp scissors, a pot of soil or water.
- Take a stem cutting
Choose a stem cutting with several nodes or leaves. Some aerial roots are helpful but not essential.
- Choose a growing medium
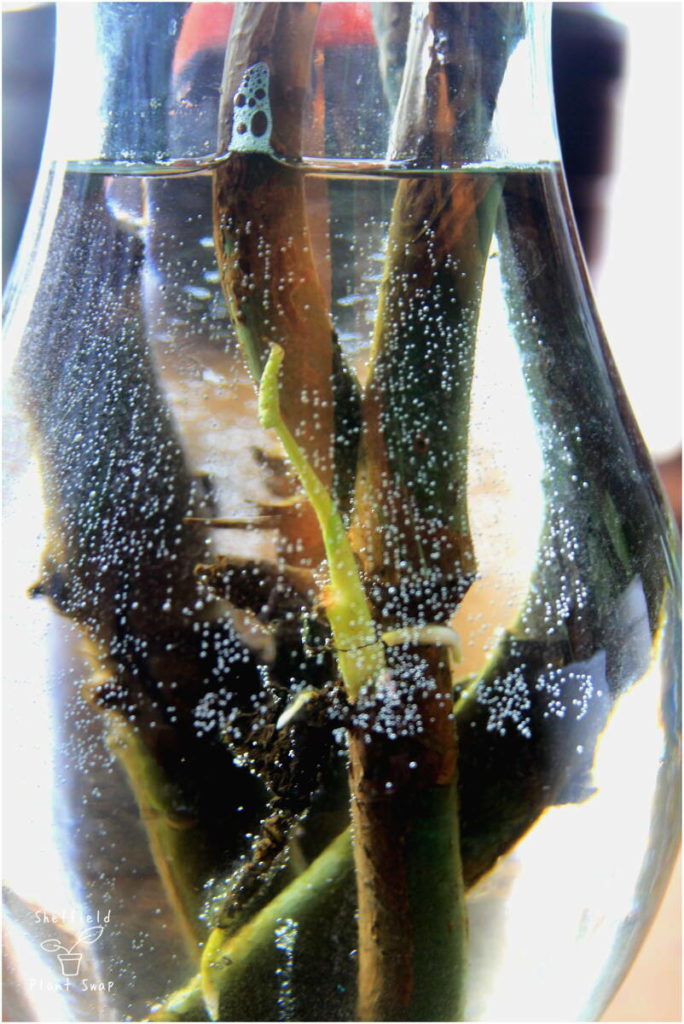
You can propagate your cutting in water or soil. Water works just as well as soil and has the advantage of being easier to check progress.
- Warm and bright
Keep your cutting in a warm, bright location.
- Keep fresh and moist
If growing in water change the water out regularly. If growing in soil, give it a regular water to keep the cutting moist.
- Forget about it!
It may take a while for any growth to sprout especially if you have taken the cutting during the winter dormant period.
- Pot up
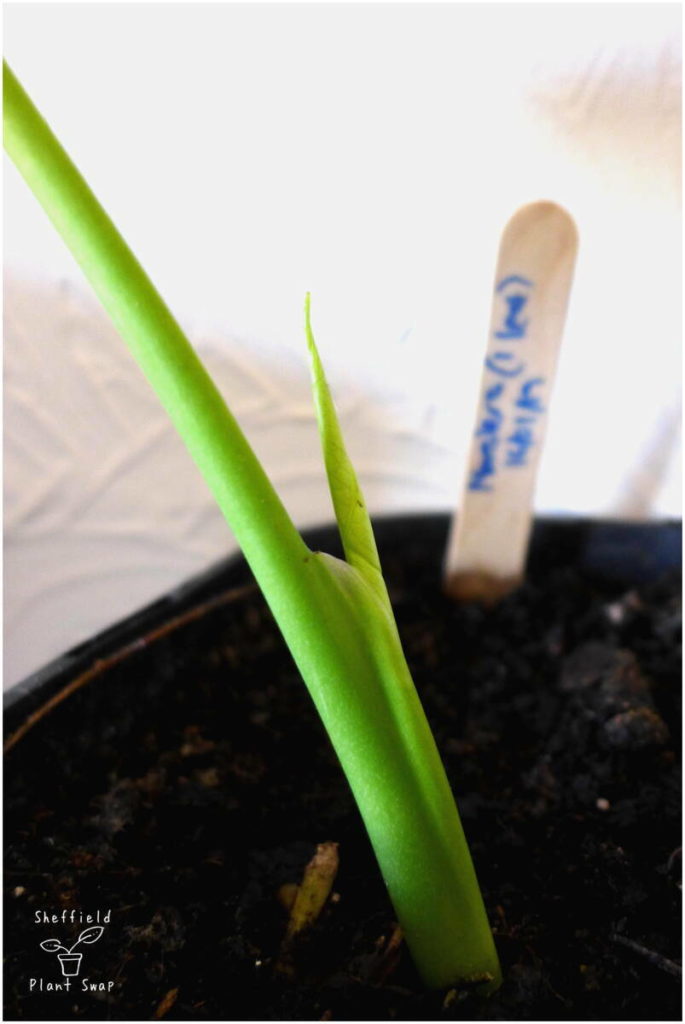
When you observe established new growth such as some roots and an unfurled leaf, pot up into a suitable container.
The in-depth 10-minute guide on how to propagate Monstera
If you are like me and the words ‘just bung it in a pot’ spark fear in your heart and you are a certified over thinker (how deep, how long, what soil, where, when, how?????)…..don’t worry! I’ve got you too.
Make yourself comfy and settle down as I address all the little niggles and questions that you have below in detail with lots of photos.
What parts of a Monstera will propagate?
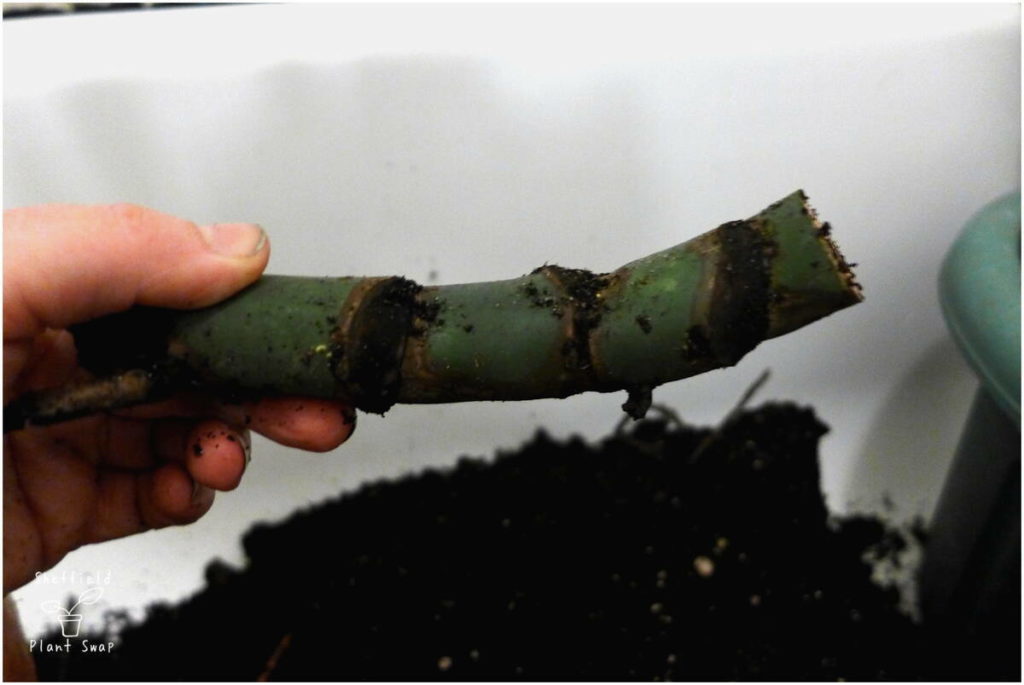
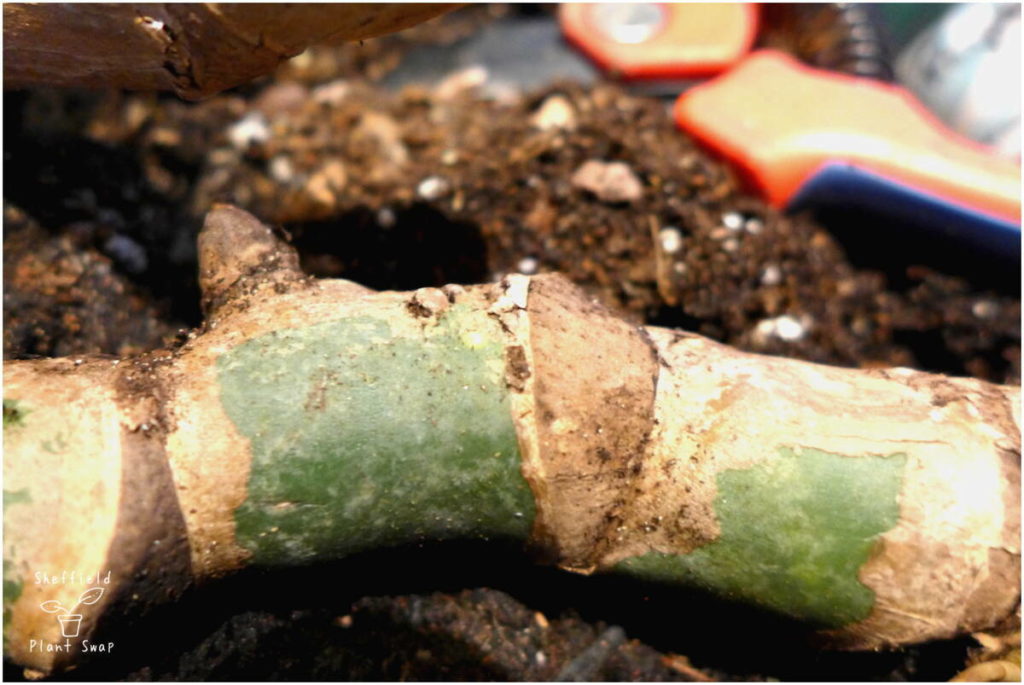
Monstera can be very easily propagated from stem cuttings. When selecting stem, you must look for sections of stem that include at least one node.
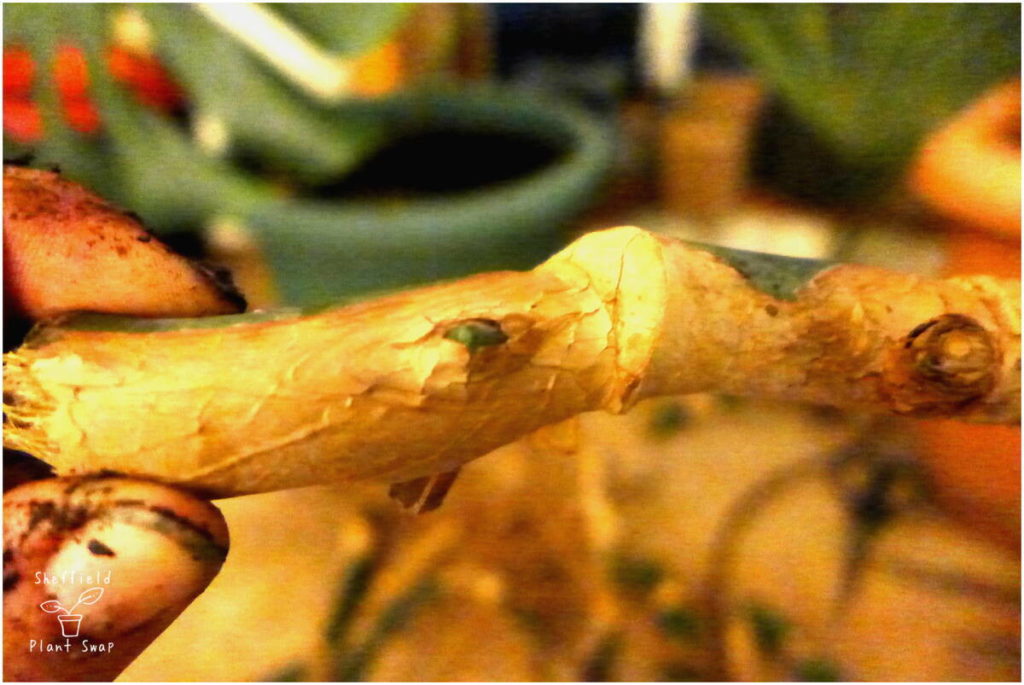
The nodes are brownish circular rings on the stem from where a leaf used to be; it is here that new leaves and roots will form. Each nodal area can support one leaf and multiple roots.
- A section of stem around 20 cm long with 2-3 nodes offers plenty of opportunities to sprout new roots and leaves; the longer the piece the greater its energy store with which to power new shoots.
- The smallest piece I have propagated from was probably 5 cm long with one node
- If a piece of stem has a leaf sprouting off that is the node; further growth such as roots can spring from there. New leaves on that section will develop from your current leaf’s petiole.
What parts of Monstera won’t propagate
Not all parts of your Monstera plant will propagate to make new monstera babies. This includes:
- Leaves with no stem attached
- Roots or aerial roots with no stem attached
- Stem with no nodes and no leaves
What will help a Monstera cutting establish quickly?
The more parts of the plant that the cutting includes the faster it will become established in its own right. Therefore when selecting where to cut try to include:
- One or more leaves as these help increase its growth potential and the speed with which it will establish itself.
- Roots or aerial roots. Aerial roots in water or soil will develop regular roots as offshoots and this will increase the plant’s ability to draw up water and nutrients. Don’t worry if the thick brown outer covering of the aerial roots sloughs off, this is normal.
Just remember that some portion of stem with nodes must be present, trying to plant a leaf will result in nothing!
What affects propagation success?
Overall Monstera cuttings are very tolerant of growing medium, position and conditions but there are definitely variables you can tweak to increase either the likelihood or speed of success.
Time of year
You don’t need to specifically time when you take a cutting but bear in mind that your cutting may be slower to get started in winter when plants are usually dormant.
Time frame
The first thing to say, is that patience is key. Some of cuttings will root straight away and throw out new leaves in quick succession. Others can go through a long dormancy period. Often Spring will kick start previously dormant cuttings.
See below about how to check that your cutting is still healthy despite it doing bugger all!
Light and warmth
Monstera cuttings benefit from warmth and brightness and will sprout fastest on a warm, bright windowsill. I’ve seen suggested that Monstera cuttings need a heat pad to start them off but in my experience that is not true. However, it is possible that a heat pad might speed up the propagation process.
Moisture
If in soil they also need to be kept nicely moist but not wet – they don’t like wet feet and will rot. Feel their soil once a week and if it feels dry give them a light drink. There is no need to cover them with a plastic bag as is sometimes suggested.
Size of cutting
Longer or larger stem sections with more nodes tend to produce more new growth with multiple new stems sprouting. This is important as Monstera is a vine plant and grows along one long stem. If your cutting develops leaf sprouts on multiple nodes these will each develop as a stem leading to more bushy growth at a compact size.
Hormone rooting powder
In all honestly, Monstera cuttings are so incredibly easy to root that I don’t recommend using hormone rooting powder.
Growing medium
The advantage to propagating in water in a glass jar is that you can see any new growth immediately. However larger cuttings that include leaves and aerial roots are probably best going straight into soil.
Water choice
You can use regular tap water but be wary if your tap water is very hard and do not use artificially softened water. Rain water or distilled water is also be fine.
Submerge most of the stem section in water, leaves and roots quite happily sprout in the water.
Soil mix
Use a light, free draining potting compost and as the plants got older use a more hummus rich mix.
The easiest way and most space efficient way to pot cuttings in soil is to plant stems vertically with just the top inch above the soil.
I worried that some stem nodes needed to be above the surface in order to sprout new leaves but that wasn’t the case at all. New leaves sprouted under the soil level and had no problem pushing to the surface before unfurling.
Potting up
If you have multiple stem cuttings sharing a pot, then as soon as they start developing new growth you should pot them up on their own. My experiences suggest that Monstera are fairly robust and don’t not object to being disturbed if you handle them carefully.
You don’t need to leave any of the original stem cutting above the soil level and can bury it all for a neater look.
Trouble shooting
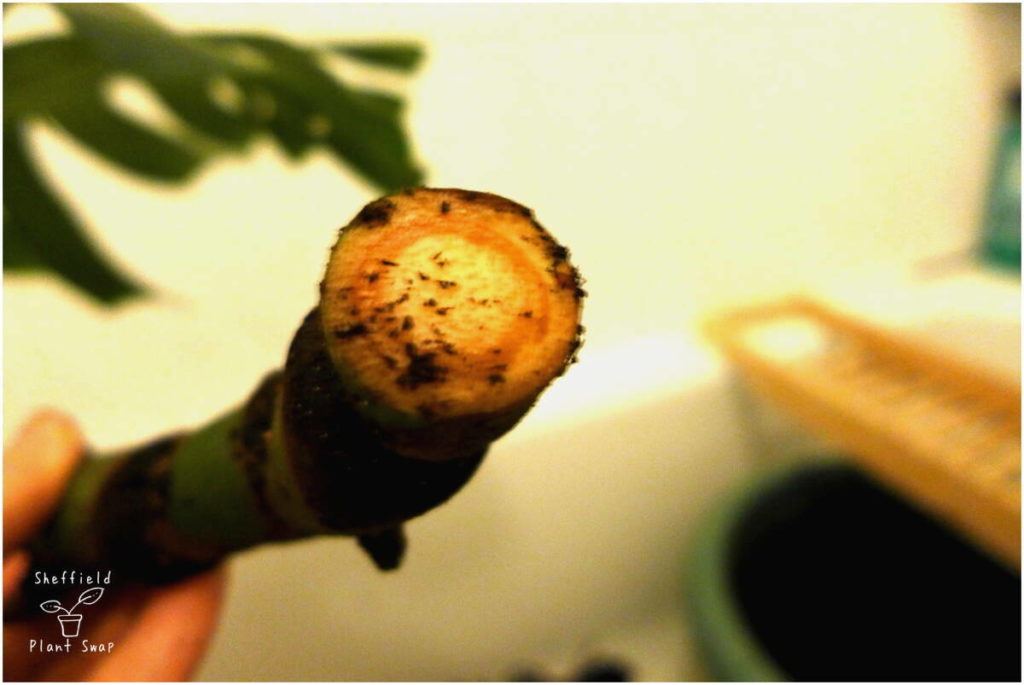
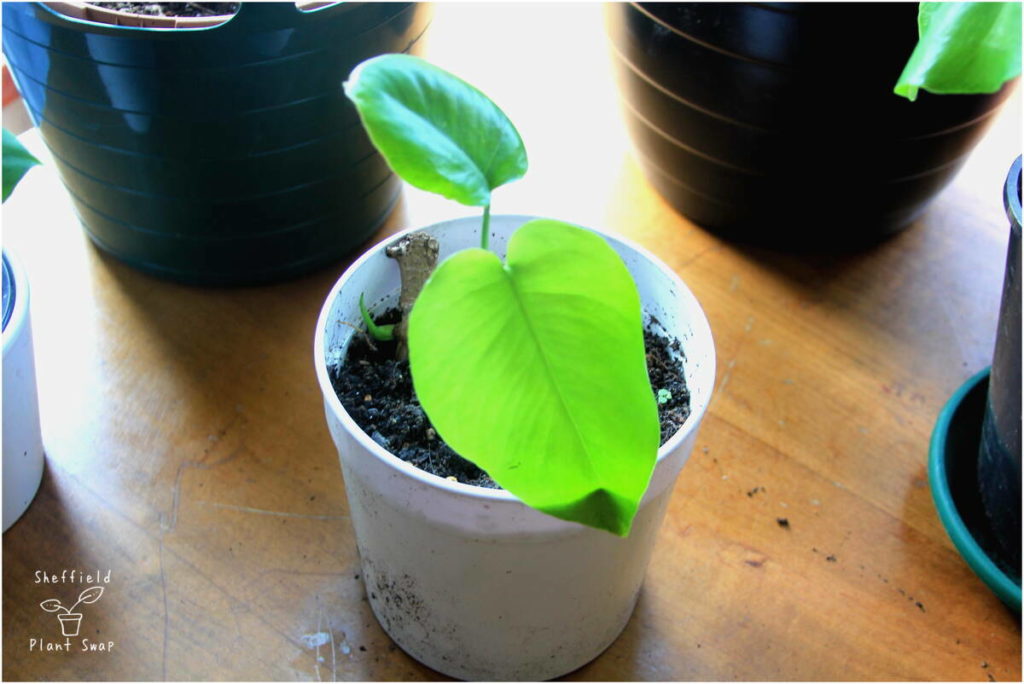
Being me, I couldn’t let well alone and kept digging up my cuttings – hence why water works better for me! I was like an enthusiastic puppy worrying a bone…. What I noticed was that I could tell which cuttings were doing OK because they remained firm and a bright green colour.
Signs your so far entirely dormant cutting is actually doing well
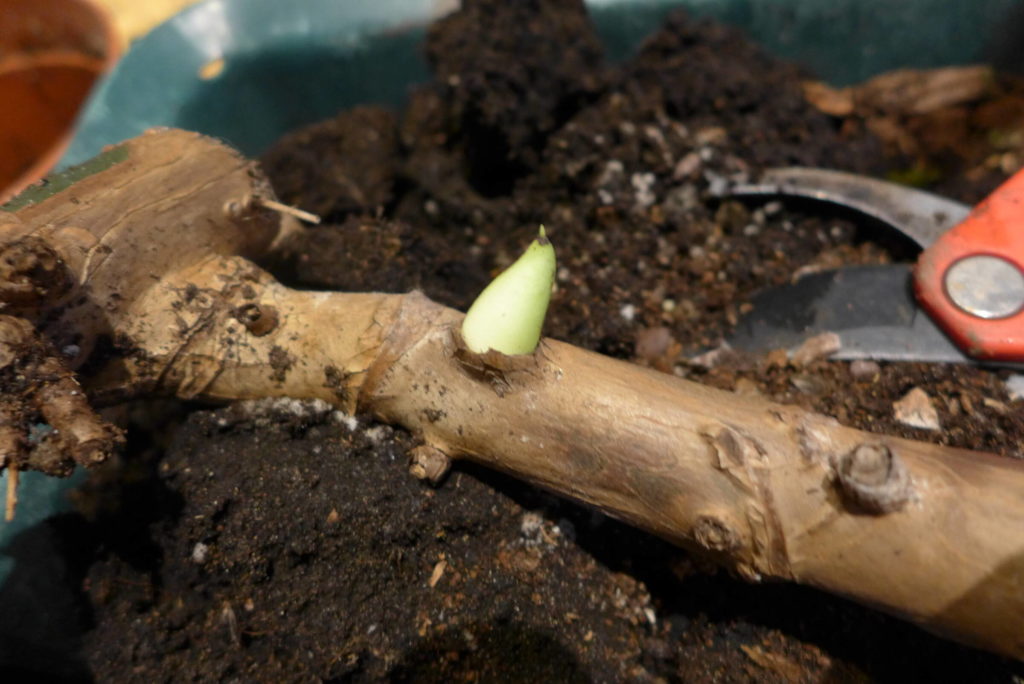
You will be able to see when your cuttings are getting close to sprouting because the stem will look increasingly swollen and bumps around the nodes will look more pronounced.
Signs that your cutting is not happy
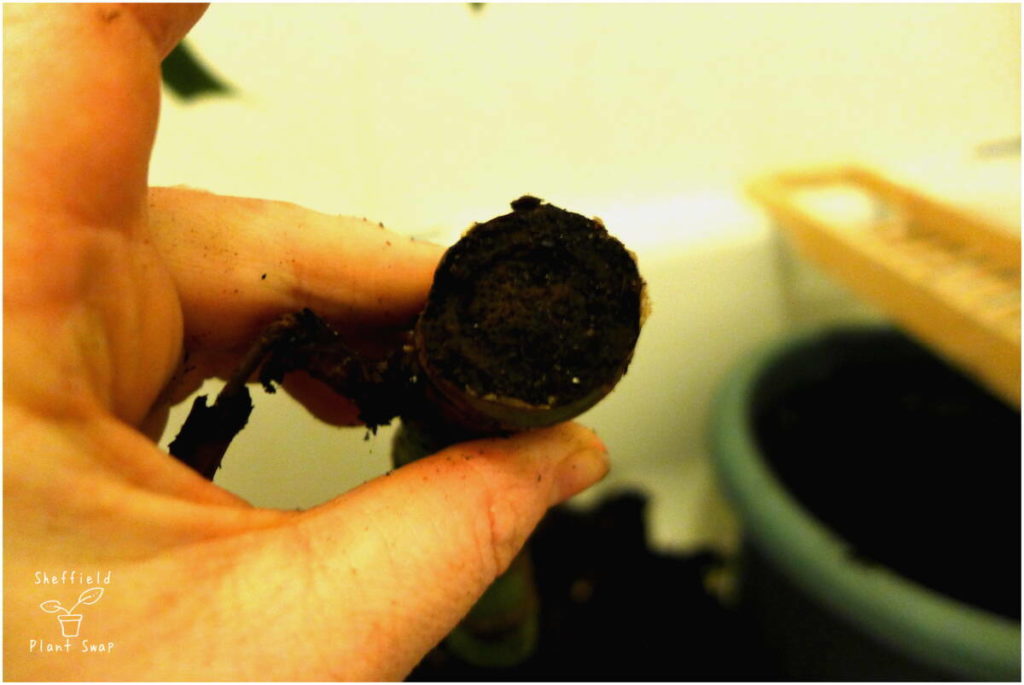
Cuttings not doing well may start to rot and go black and squishy. In which case trim off the black until you have firm flesh and repot in fresh soil and don’t let it get as damp – if the cutting is only small you may need to throw it all away.
Alternatively, rinse and repot in water as this will let you monitor them more closely. You may find that switching mediums is effective at halting rot.
Cuttings that lose their fresh green colour and start to go wrinkled are drying out from not enough moisture. To resolve this, water well, place in a well lit position and consider repotting in water rather than soil.
My monstera family
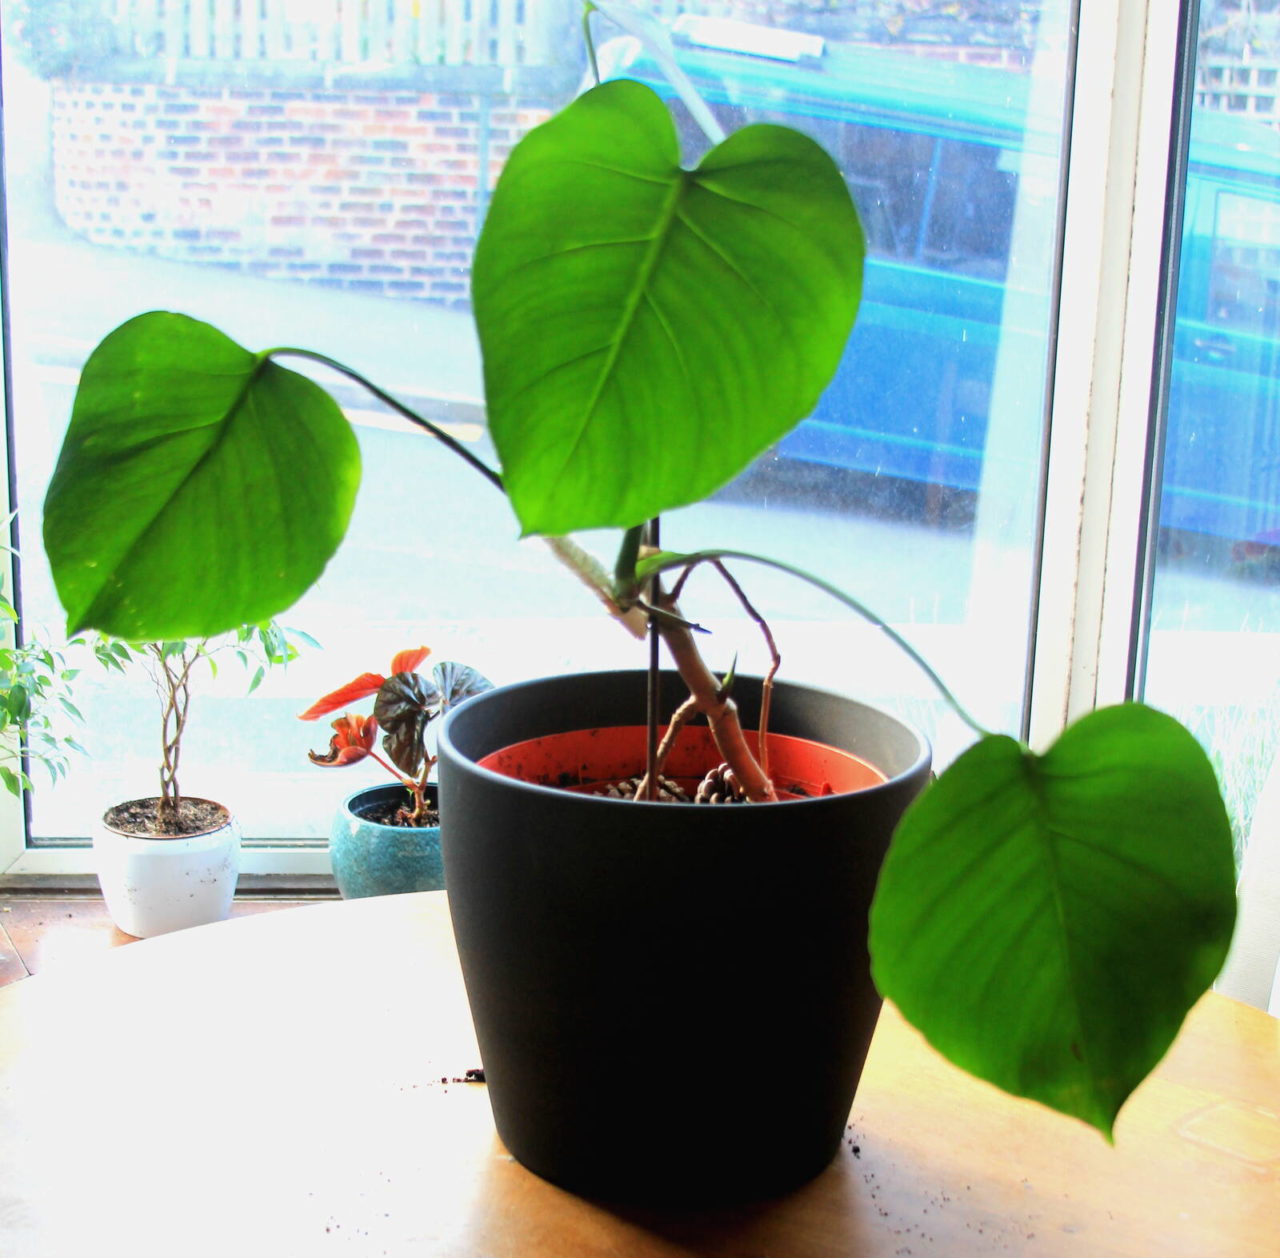
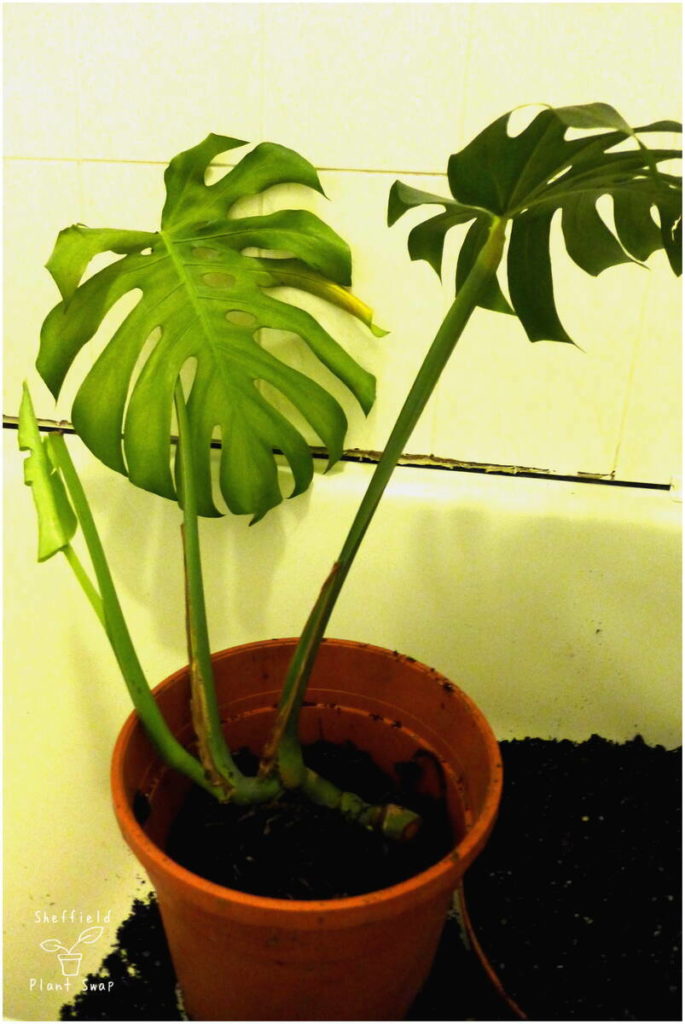
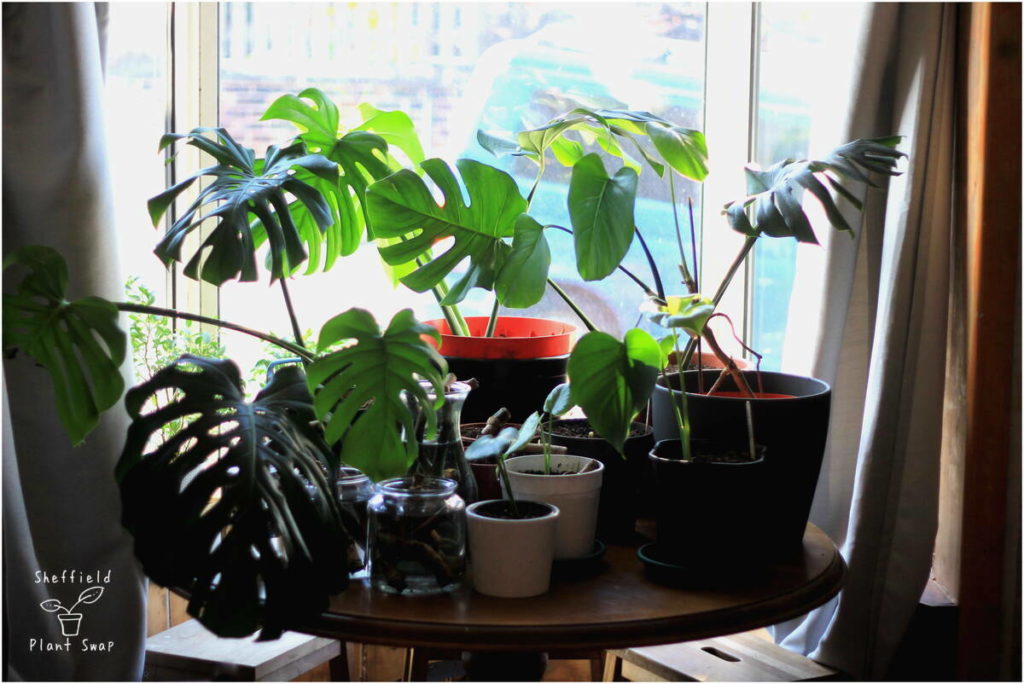
Mama Monstera, my original plant, is so large she can’t be moved for pictures however here is a picture of all her babies in various stages of propagation from juniors, to babies, to fresh cuttings.
Your Monstera Family
I’d love to see pictures of your progress and to hear how you propagate your Monstera. What has or has hasn’t worked for you. Do you have any questions, did I miss anything out?
Post pictures on Facebook, twitter or insta and tag us to let us know how you are getting on! #MakingMonsters.

